

Welcome to Your Landscape Care Resource
Helping You Care for Your Landscape with Confidence
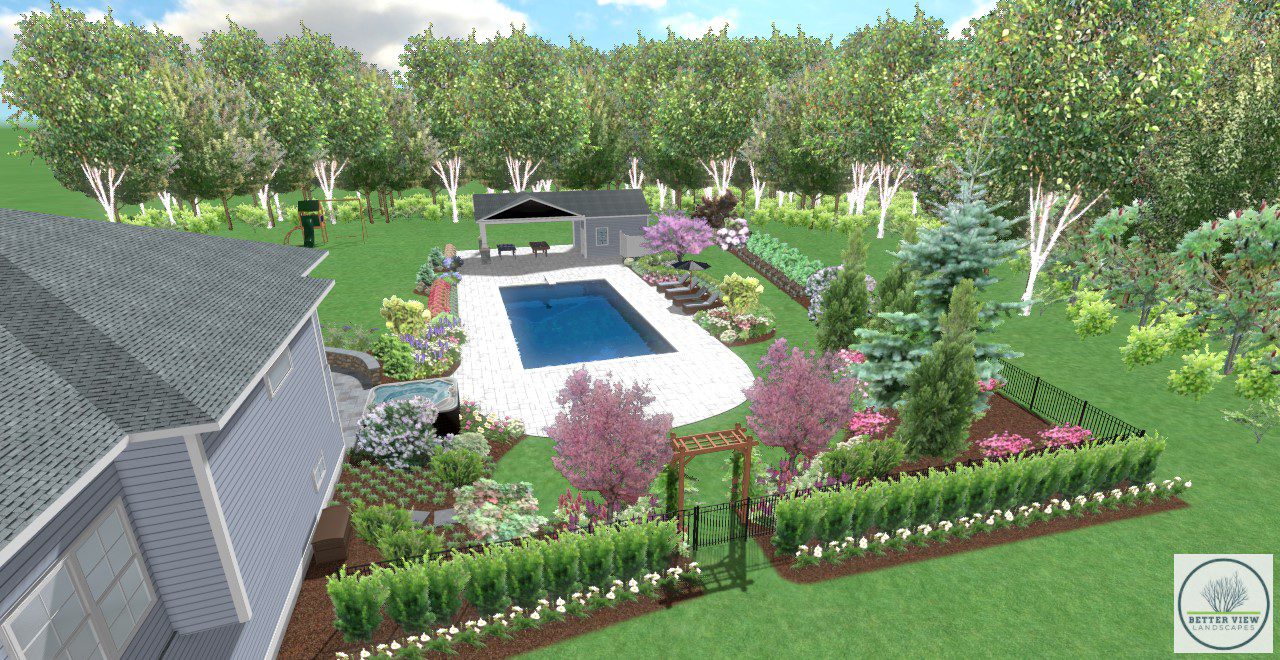
At Better View Landscapes, we believe that your landscape is more than just plants and turf—it’s an extension of your home, your lifestyle, and your investment in outdoor living. Our job doesn’t end when the last plant is in the ground or the final lawn is seeded. In fact, that’s just the beginning.
We’re committed to empowering you with the knowledge and support you need to keep your landscape thriving. Below, you’ll find expert guidance on watering, fertilizing, mowing, seasonal maintenance, and more—all designed to make caring for your landscape simple and stress-free.
These recommendations are based on years of hands-on experience, horticultural best practices, and a genuine dedication to your success. Whether you prefer to take the reins or want help along the way, we’re here for you.
Because a beautiful landscape isn’t just about how it looks today—it’s about how it grows tomorrow.
Let’s make it flourish—together.
🌱 Watering Your Newly Seeded Lawn
Better View Landscapes – Your Guide to Lawn Establishment Success
Newly seeded or hydroseeded lawns require dedicated attention to establish a strong, healthy root system. Without proper watering, your lawn may suffer from poor germination or uneven growth. This guide outlines everything you need to know—from the first watering to your first mow—to give your new lawn the best possible start.
💧 Step-by-Step Watering Instructions
Consistency is key. The goal is to keep the seedbed evenly moist—not soaked—during germination and early growth stages. Avoid both overwatering (which can cause erosion or fungal issues) and letting the surface dry out (which may kill tender seedlings).
✅ Phase 1: Pre-Germination (Days 1–14)
-
Water 2–3 times per day
-
Use short cycles of 15–20 minutes each
-
Focus on keeping the top 1–2 inches of soil consistently moist
-
Avoid puddling or water runoff
✅ Phase 2: Post-Germination (Weeks 2–3)
-
When seedlings emerge, reduce frequency to once daily
-
Continue watering for 15–20 minutes per session
-
Deepen moisture penetration to encourage root development
✅ Phase 3: Established Growth (Week 4 and beyond)
-
Once grass reaches 3 inches tall and ready to mow, reduce watering to 2–3 times per week
-
Continue with deep, thorough watering to encourage strong, drought-resistant roots
💡 Pro Tip: Use a rain gauge or tuna can to track how much water your lawn is receiving. Aim for 1–1.5 inches of water per week, including rainfall.
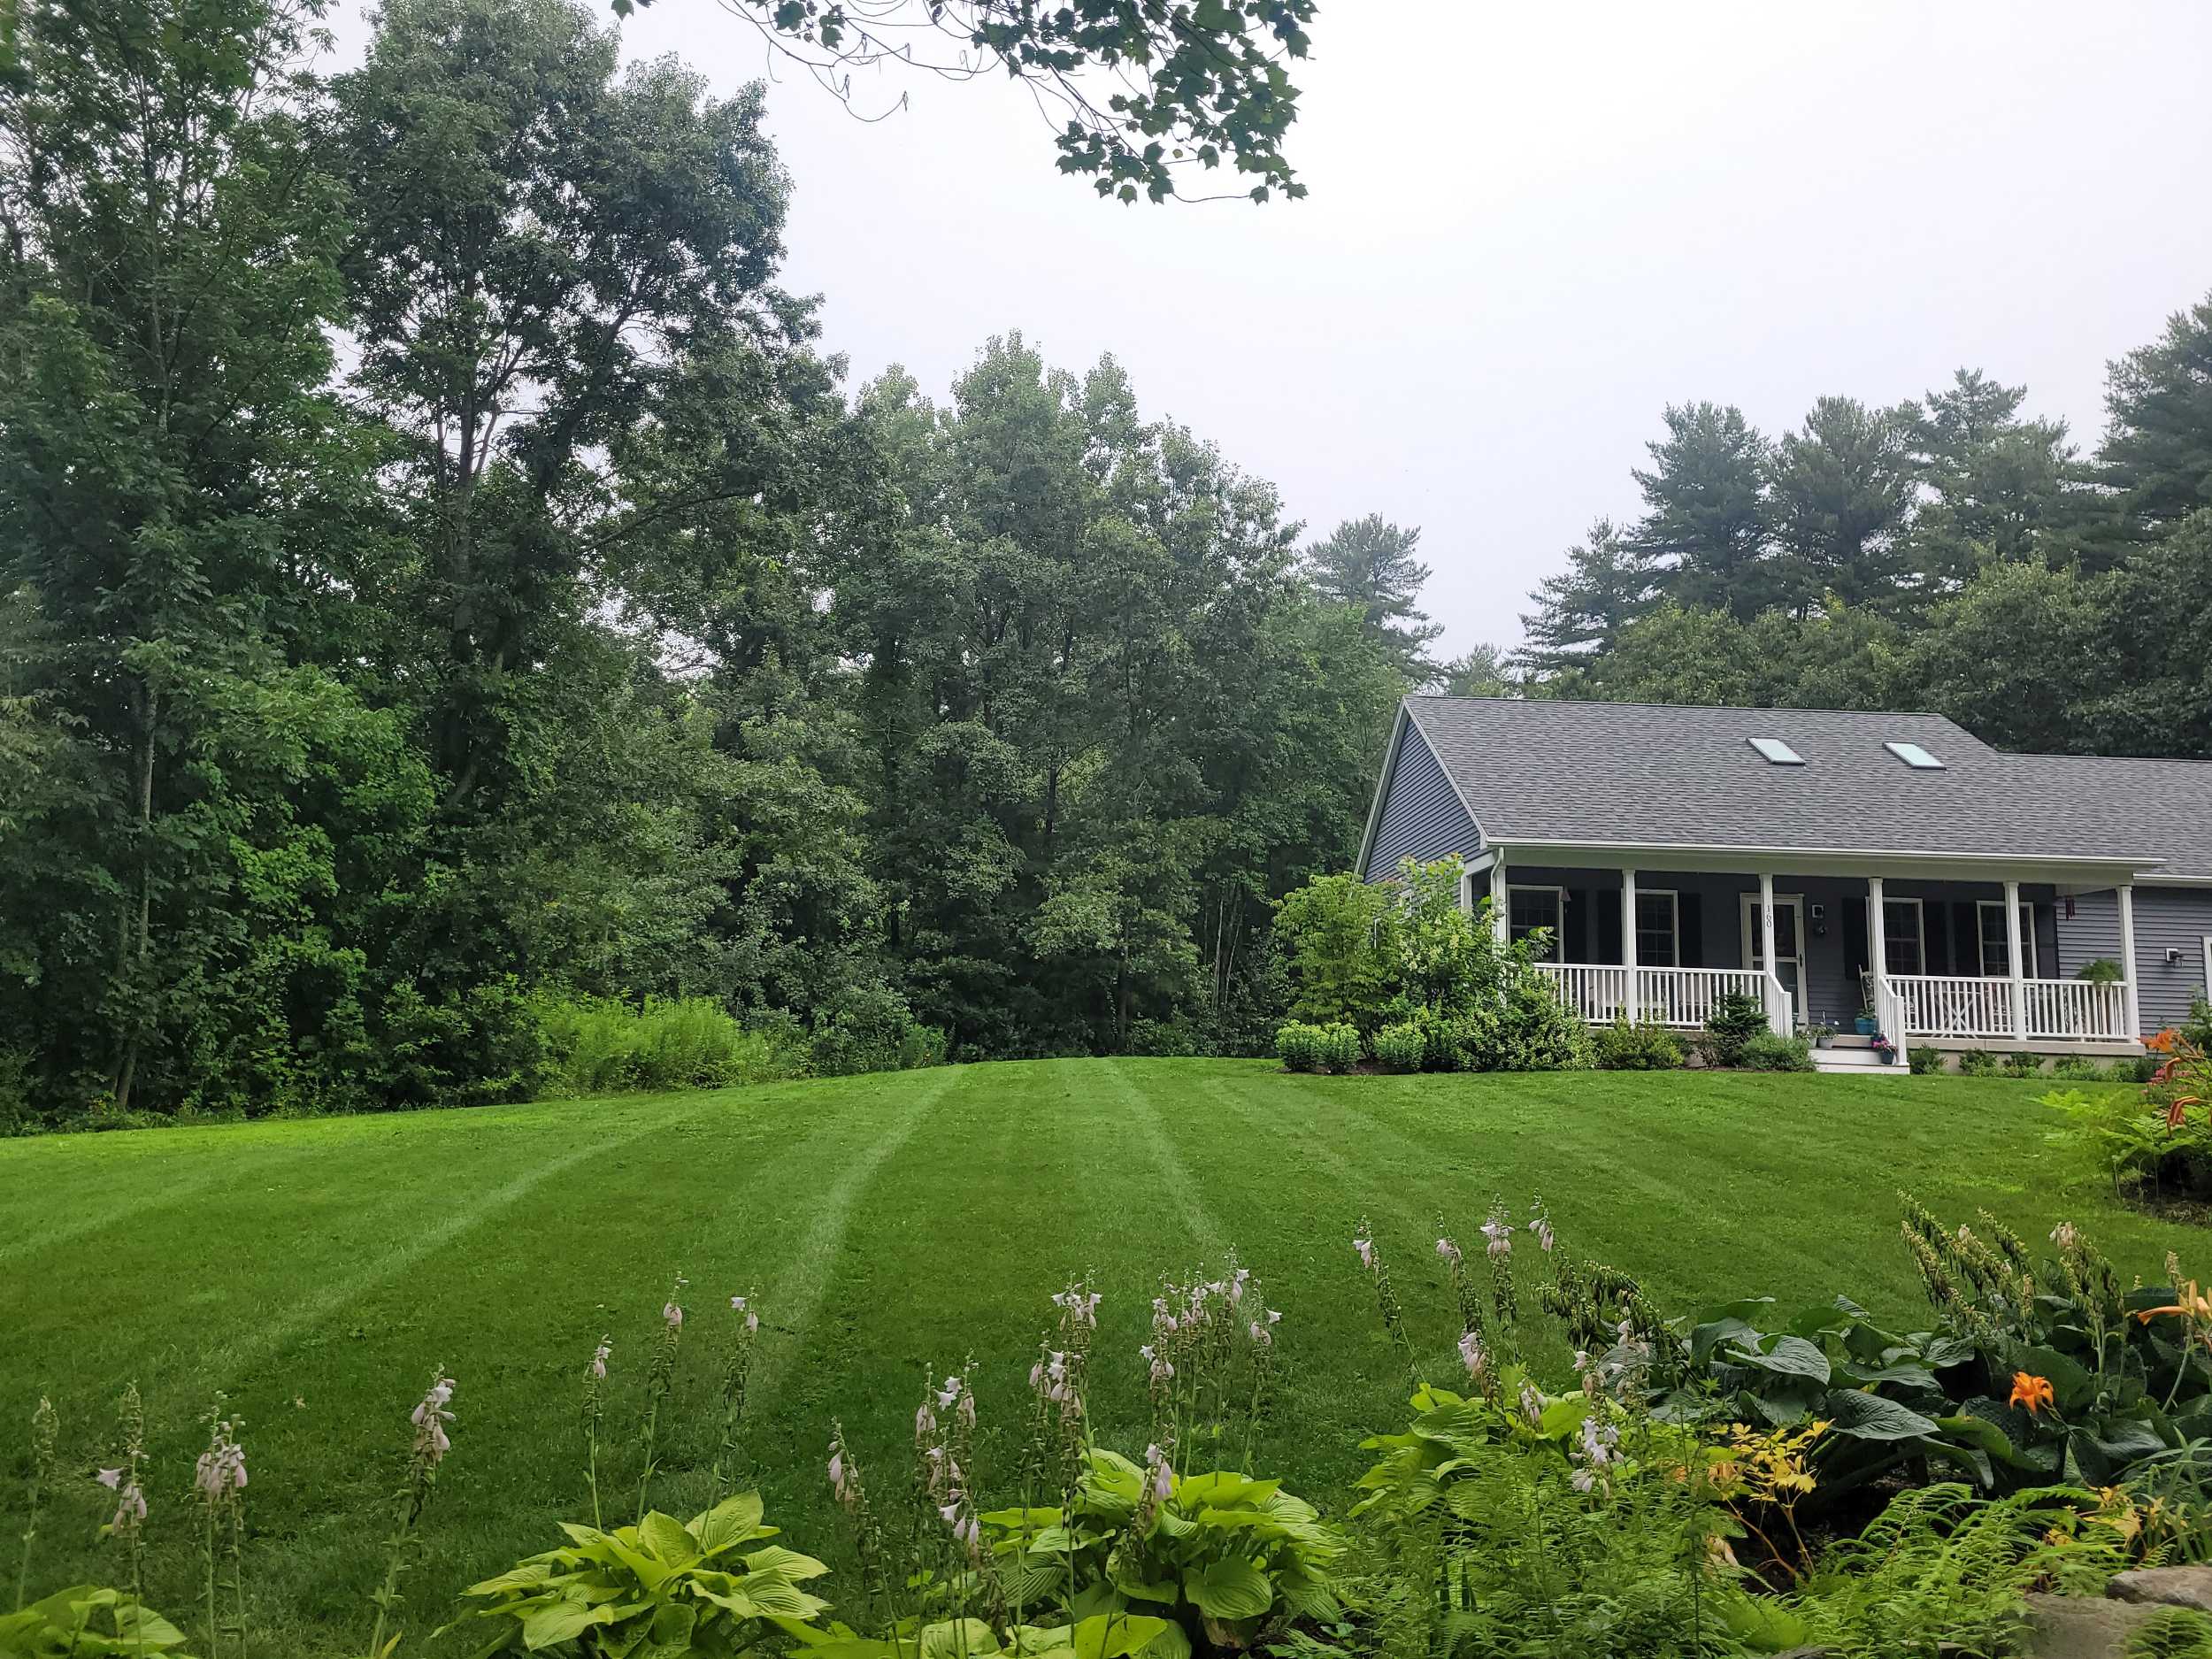
Protecting Your Investment with the Right First Cut
Mowing your new lawn may seem like a simple task—but when done too early or incorrectly, it can damage tender grass blades and compact soft soil. Following the right mowing practices during the establishment phase ensures strong roots, uniform growth, and a lush, healthy lawn for years to come.
🗓️ When to Mow
Timing is everything:
-
Seeded or Hydroseeded Lawns: Begin mowing 3–4 weeks after seeding, once grass has reached at least 3 inches in height.
-
Sod Lawns: You can typically begin mowing 2–3 weeks after installation, once the sod resists tugging and is firmly rooted.
💡 Tip: Make sure your lawn is completely dry for at least 4–6 hours before mowing. Wet grass can cause rutting, clumping, and soil compaction.
🛠️ Best Mowing Practices for New Lawns
-
Use sharp mower blades to ensure clean cuts and reduce plant stress.
-
Never remove more than one-third of the grass blade at any time—this is known as the “one-third rule”, and it prevents shock and promotes root development.
-
Mow at a height of 3 to 3¼ inches, which helps shade the soil, conserve moisture, and crowd out weeds.
-
Mow in alternating directions (e.g., north-south one week, east-west the next) to prevent ruts and encourage upright growth.
-
Avoid catching clippings for the first few mows. Let the clippings mulch back into the lawn to return nutrients and encourage soil health.
⚠️ Things to Avoid
-
Don’t mow too soon—it can uproot seedlings or damage sod.
-
Avoid mowing during hot afternoons or immediately after watering or rain.
-
Don’t mow with dull blades—they tear rather than cut, leading to disease and brown tips.
Proper mowing is just as important as watering or fertilizing. With careful timing and technique, your new lawn will develop into a resilient, green oasis you’ll enjoy for seasons to come.
How to Set Up a Temporary Watering System
Easy DIY Setup for New Lawns and Meadows
If you don’t have an in-ground irrigation system, don’t worry! A temporary watering setup is an easy and affordable solution to keep your newly seeded lawn or meadow consistently hydrated during establishment.
🔧 What You’ll Need:
-
A garden hose (or multiple hoses for larger areas)
-
Oscillating or rotating sprinklers to cover lawn evenly
-
A programmable hose timer to automate watering cycles
-
Y-splitter or multi-zone connector (optional) for multiple sprinkler zones
✅ Quick Setup Steps:
-
Layout your sprinklers to ensure full coverage of your lawn or seeded area.
-
Attach hoses to each sprinkler and connect them to your outdoor spigot.
-
Use a hose timer to set watering schedules (2–3 times/day for new seed).
-
Adjust sprinkler heads for overlap and consistent spray patterns.
-
Monitor coverage and make adjustments to avoid dry spots or pooling.
👉 Need a step-by-step guide with photos and product tips?
Visit our full how-to article here:
🔗 Setting Up a Temporary Watering System for Your Newly Seeded Lawn or Meadow →
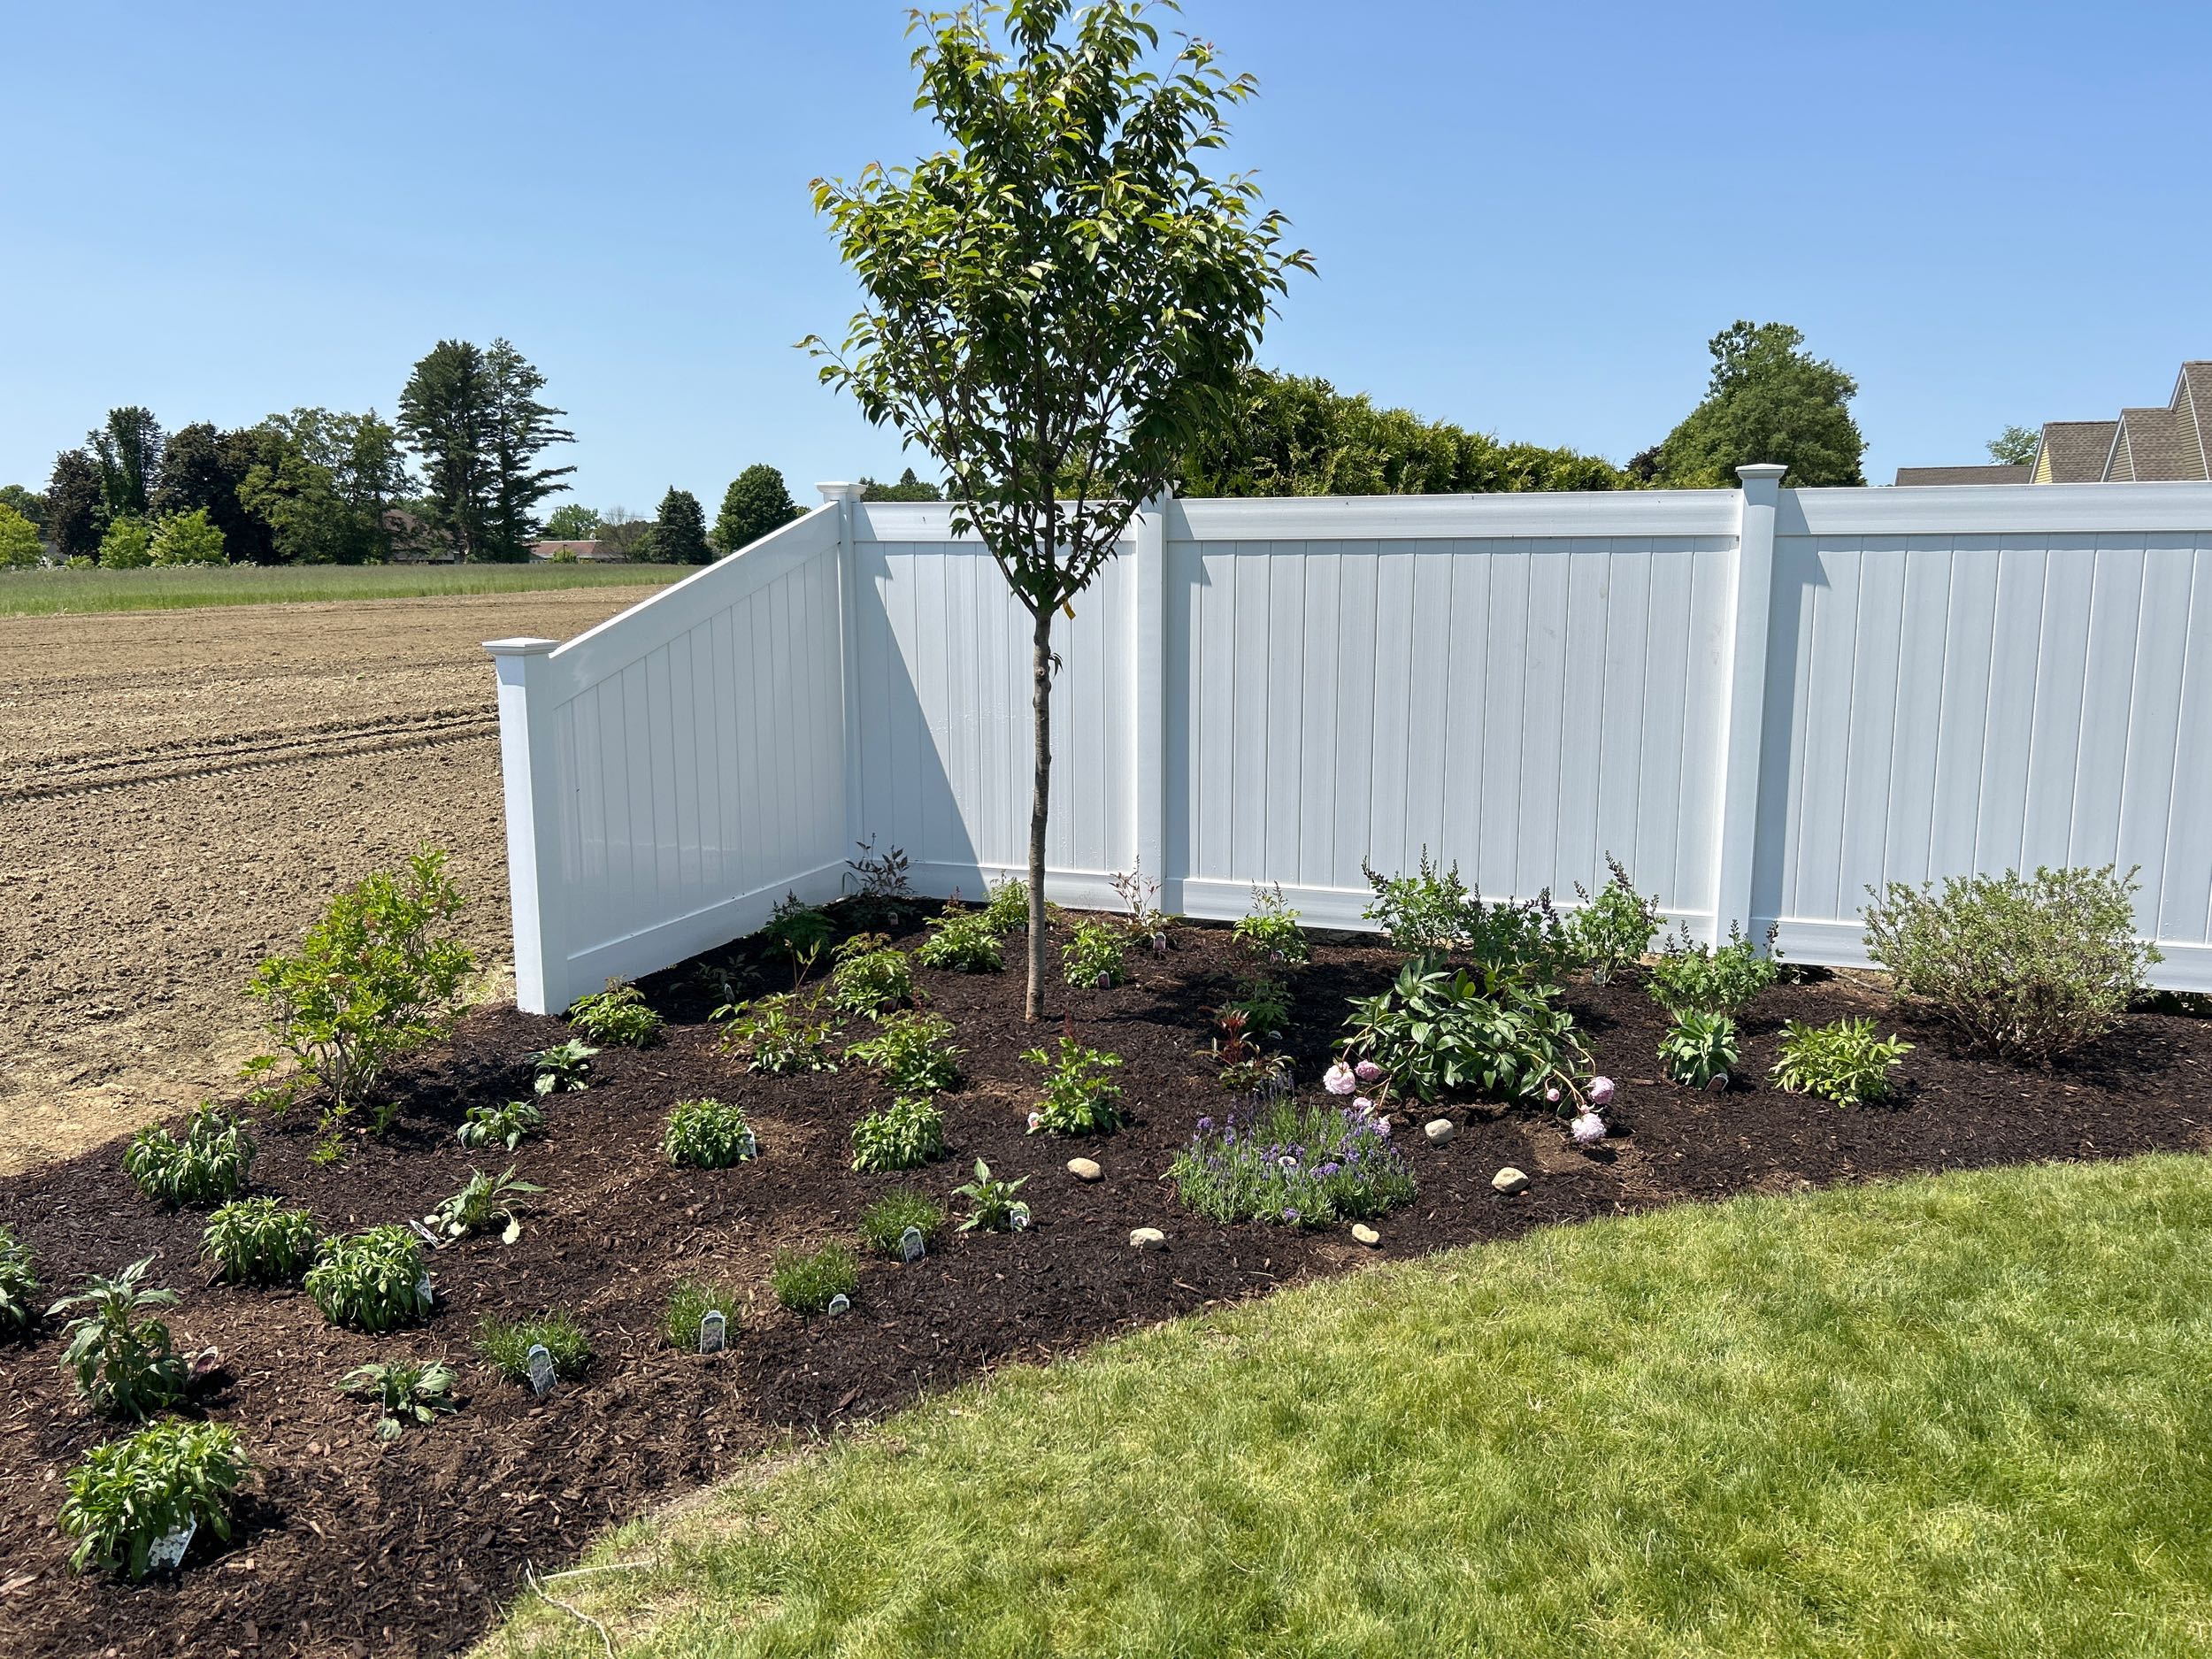
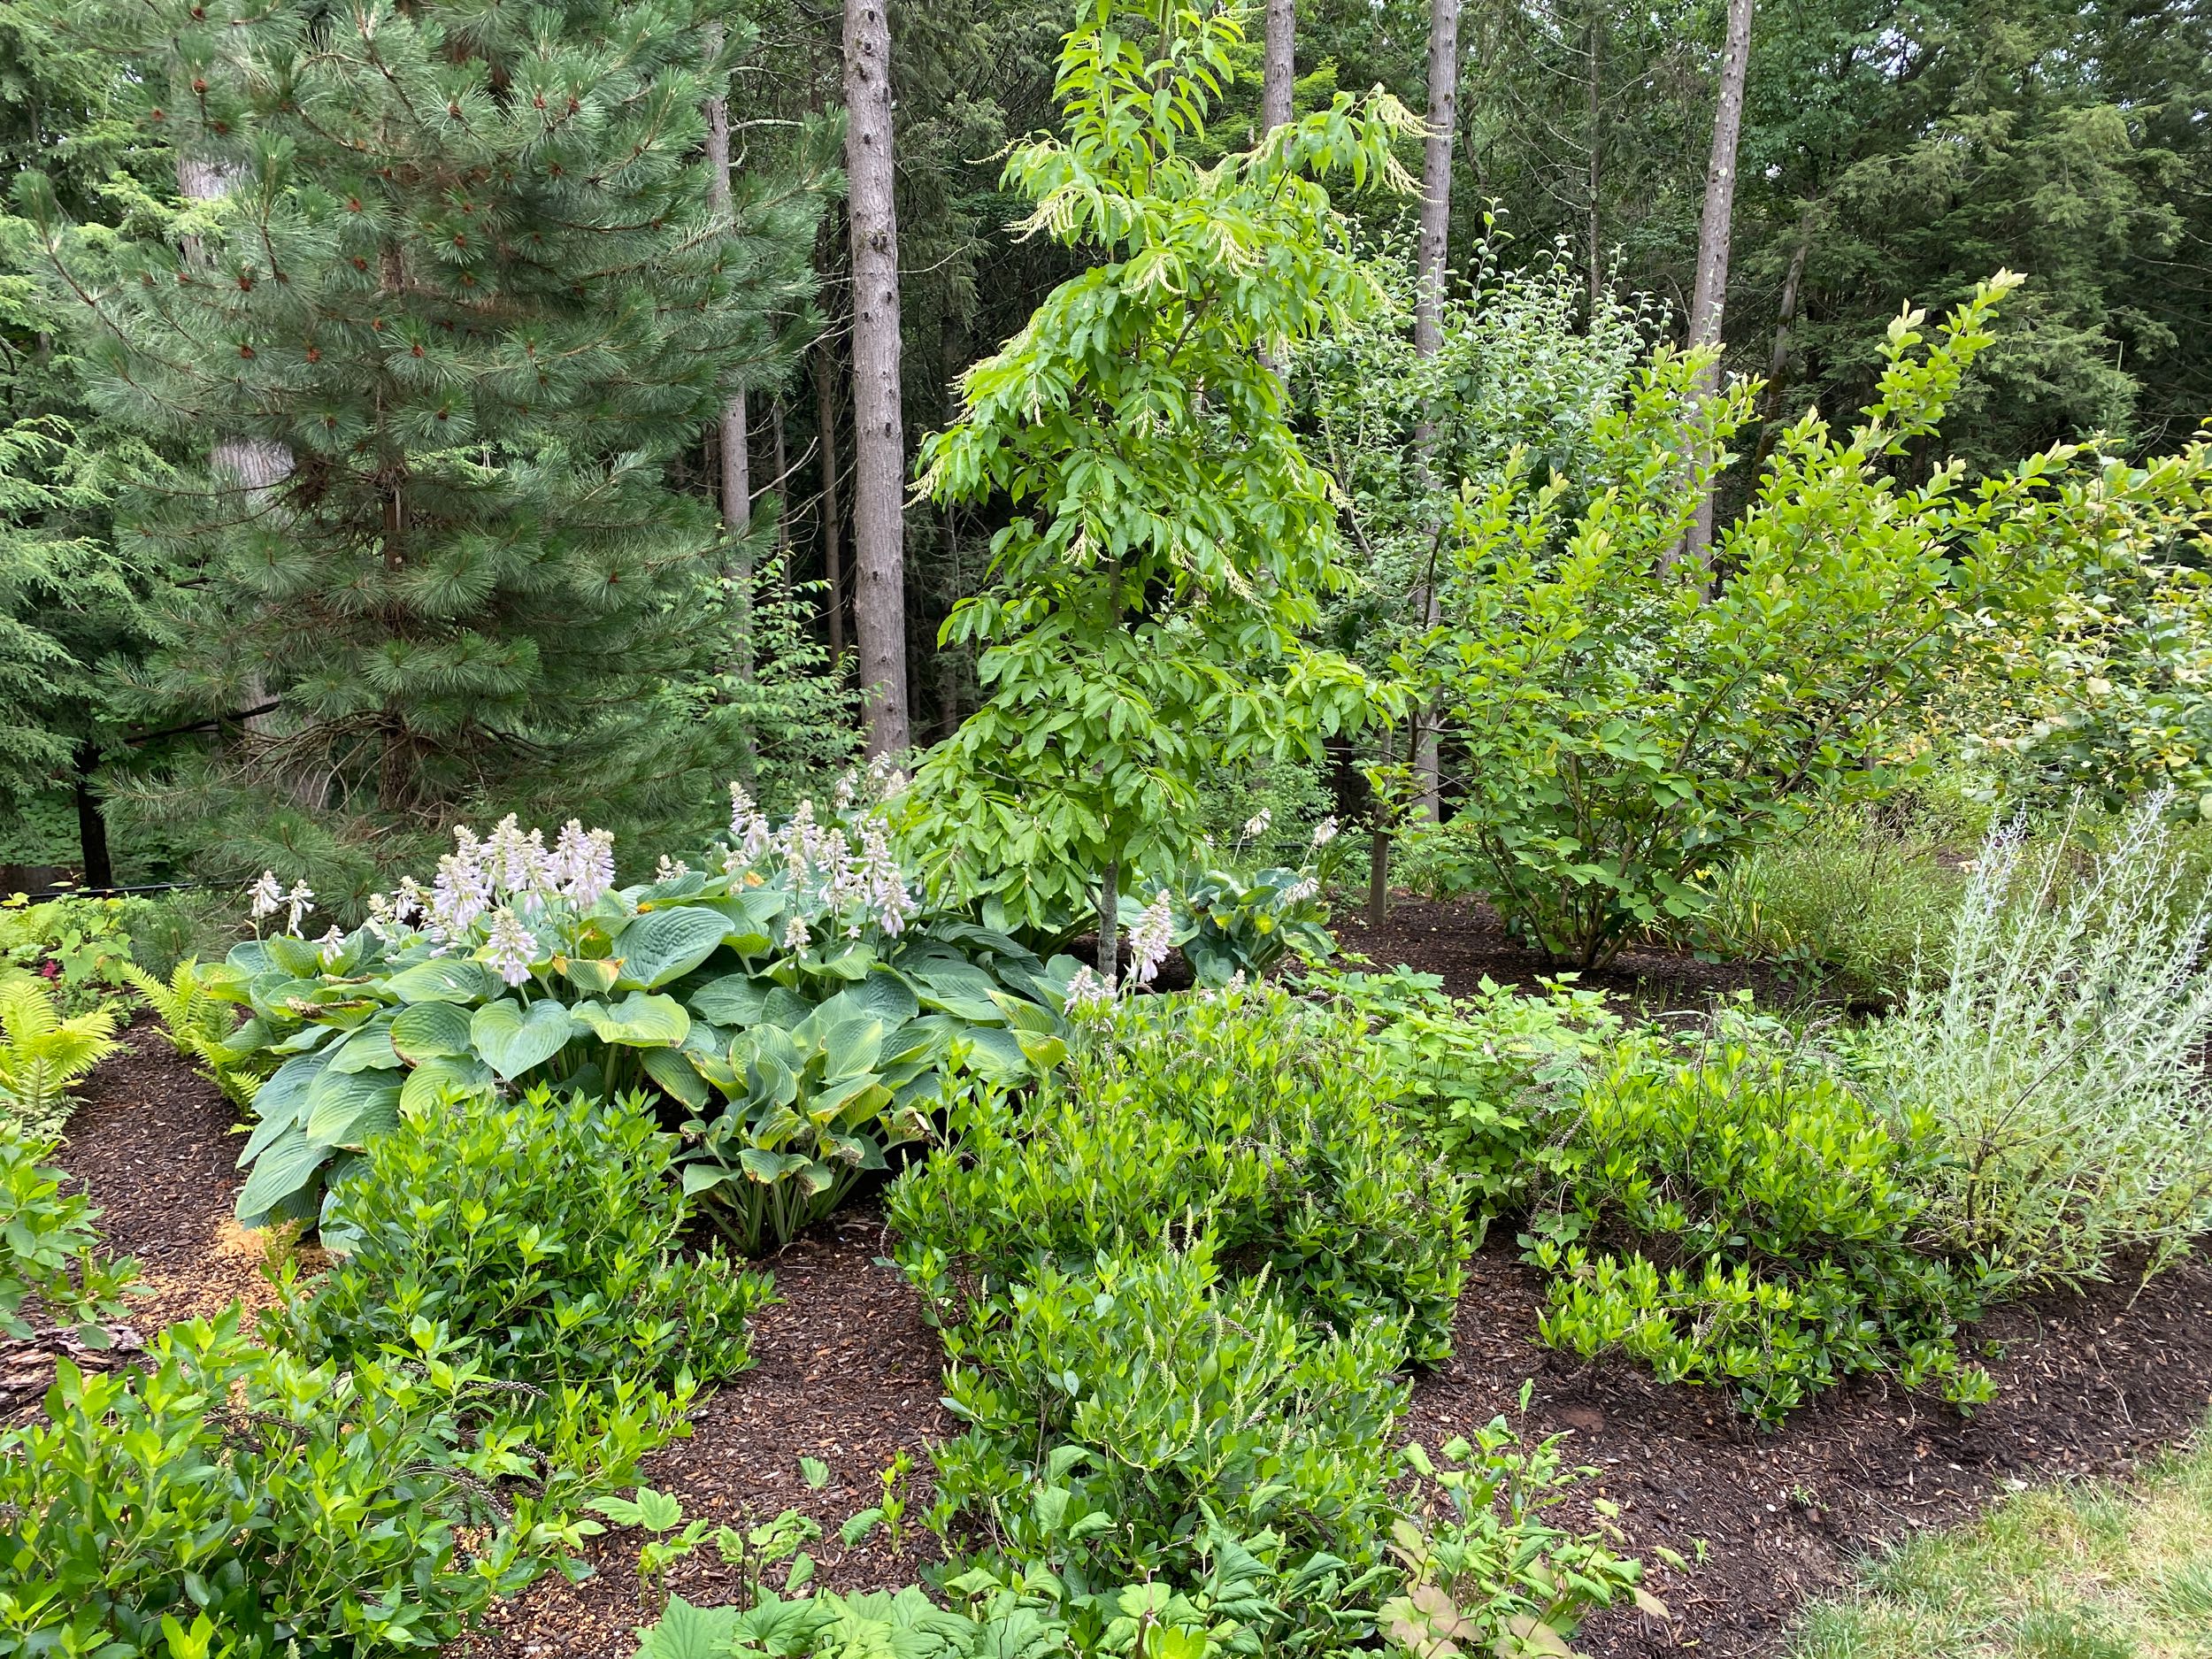
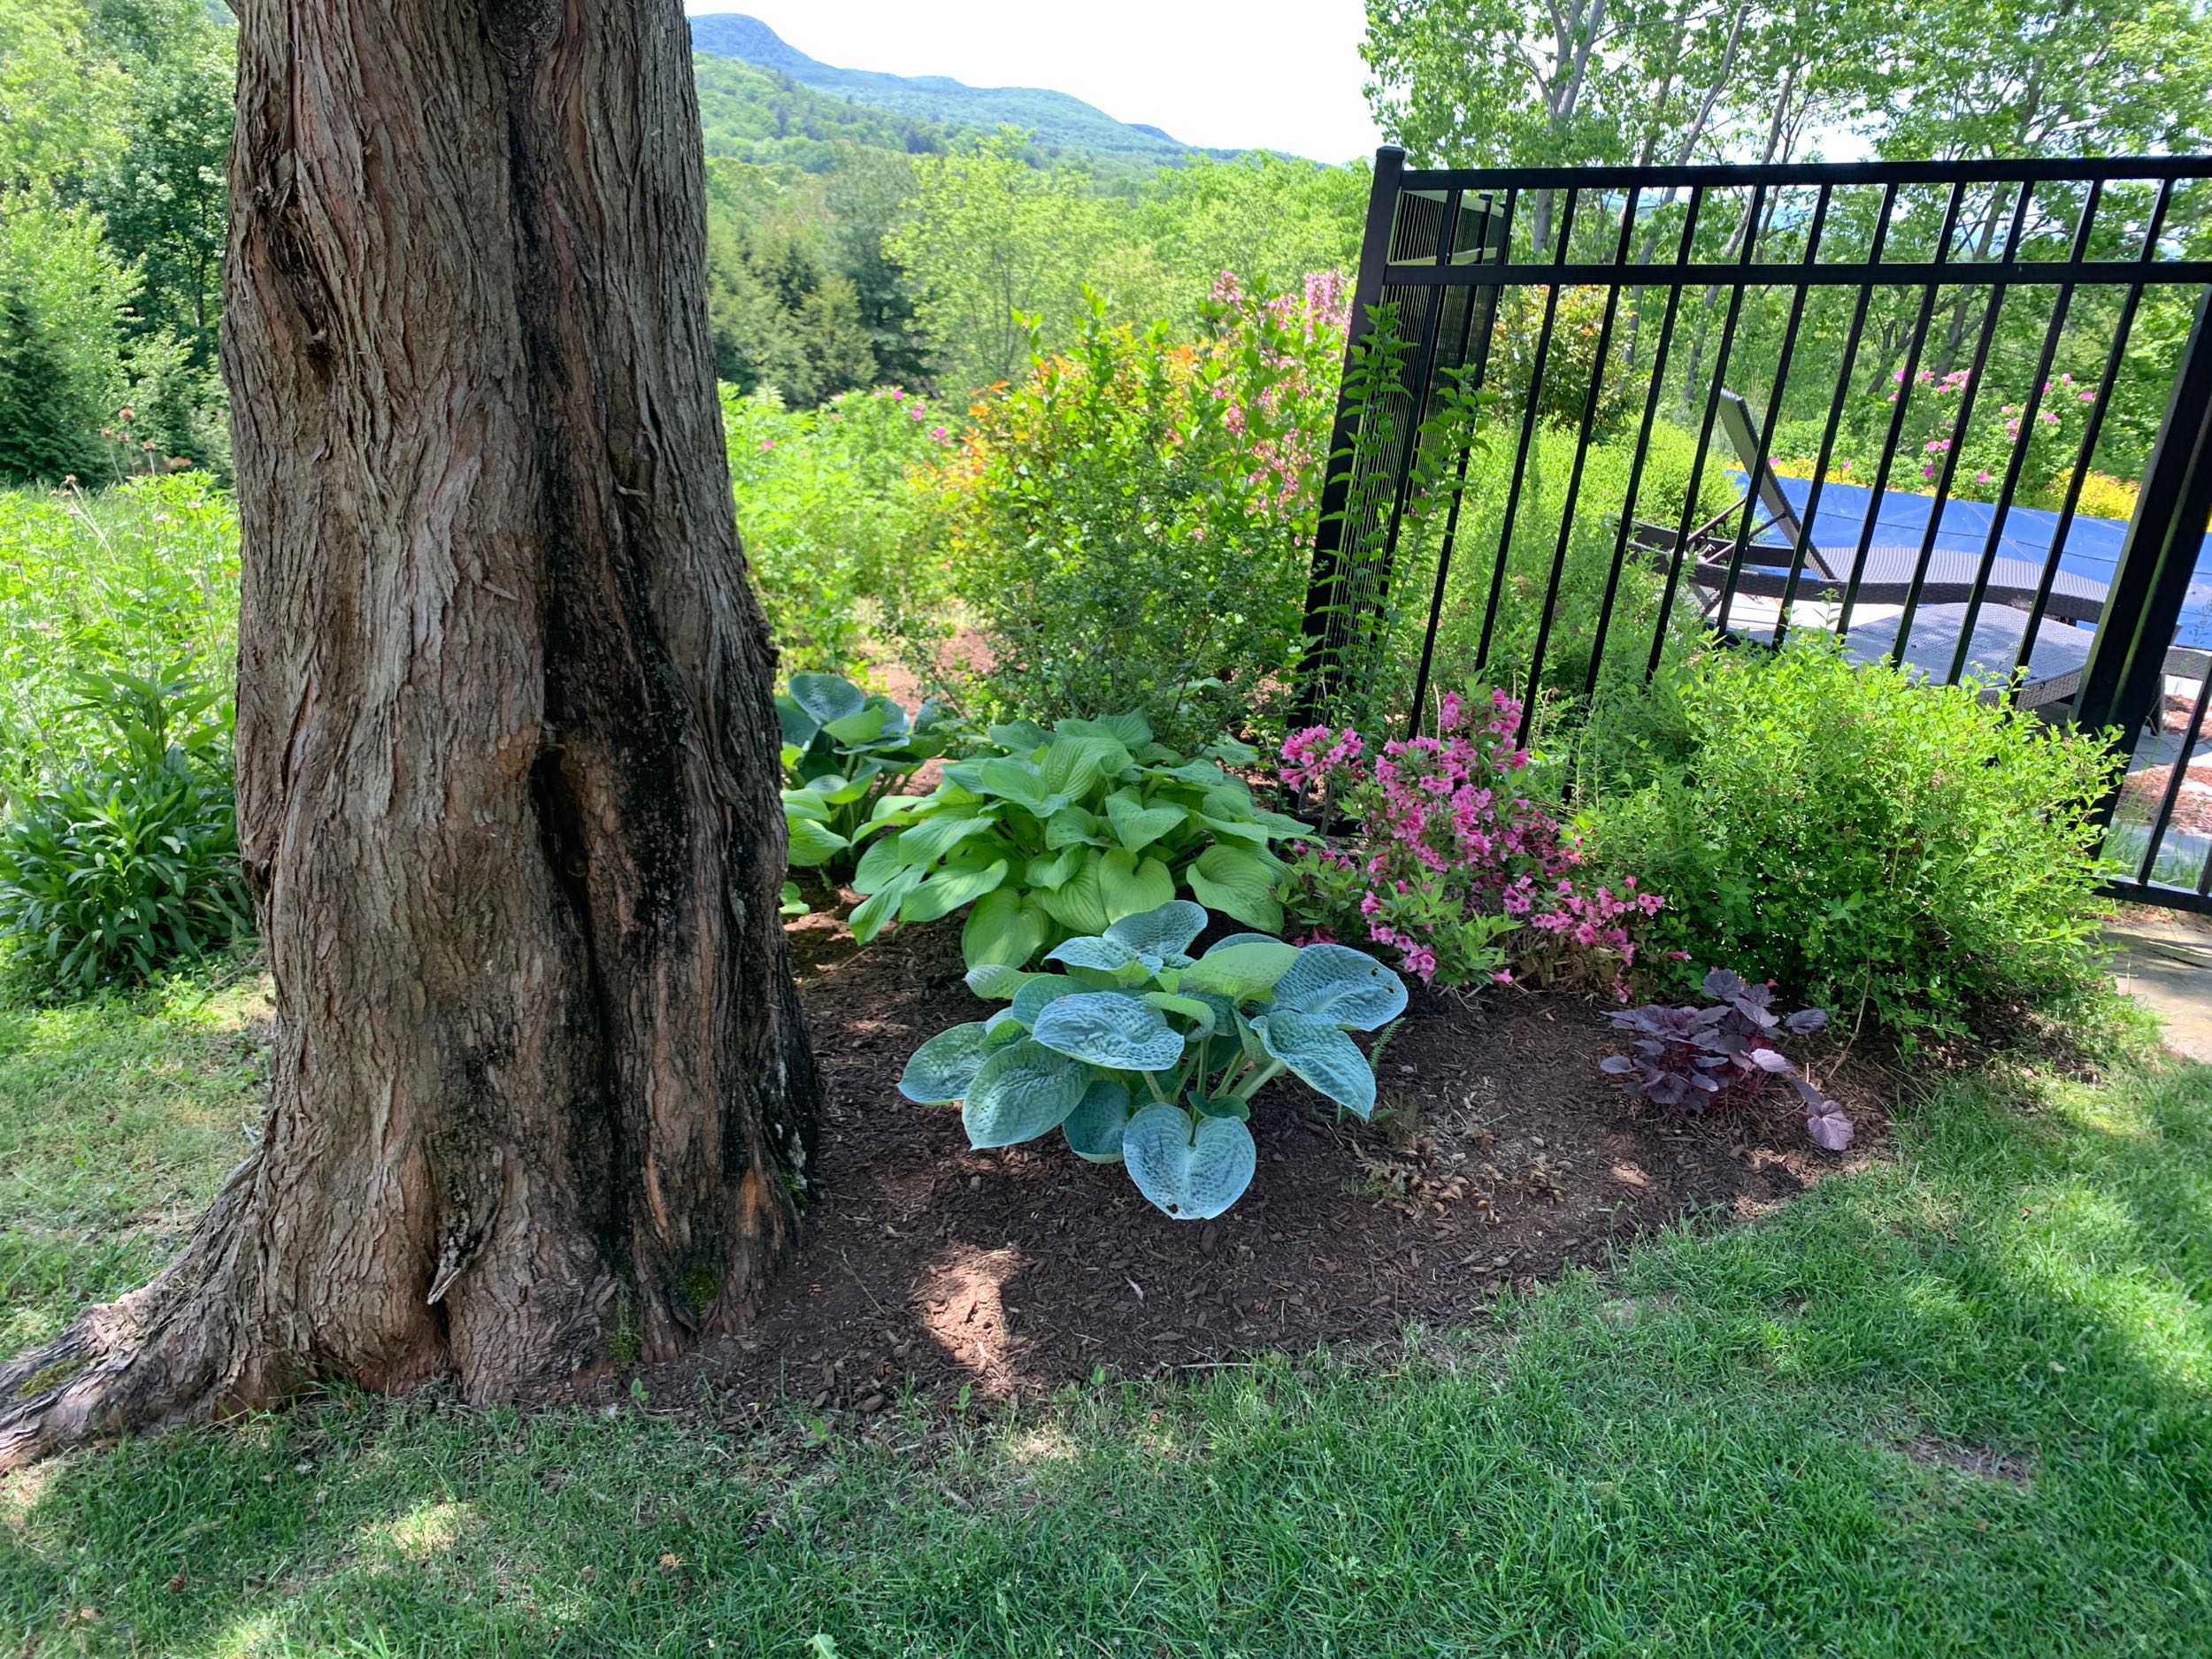
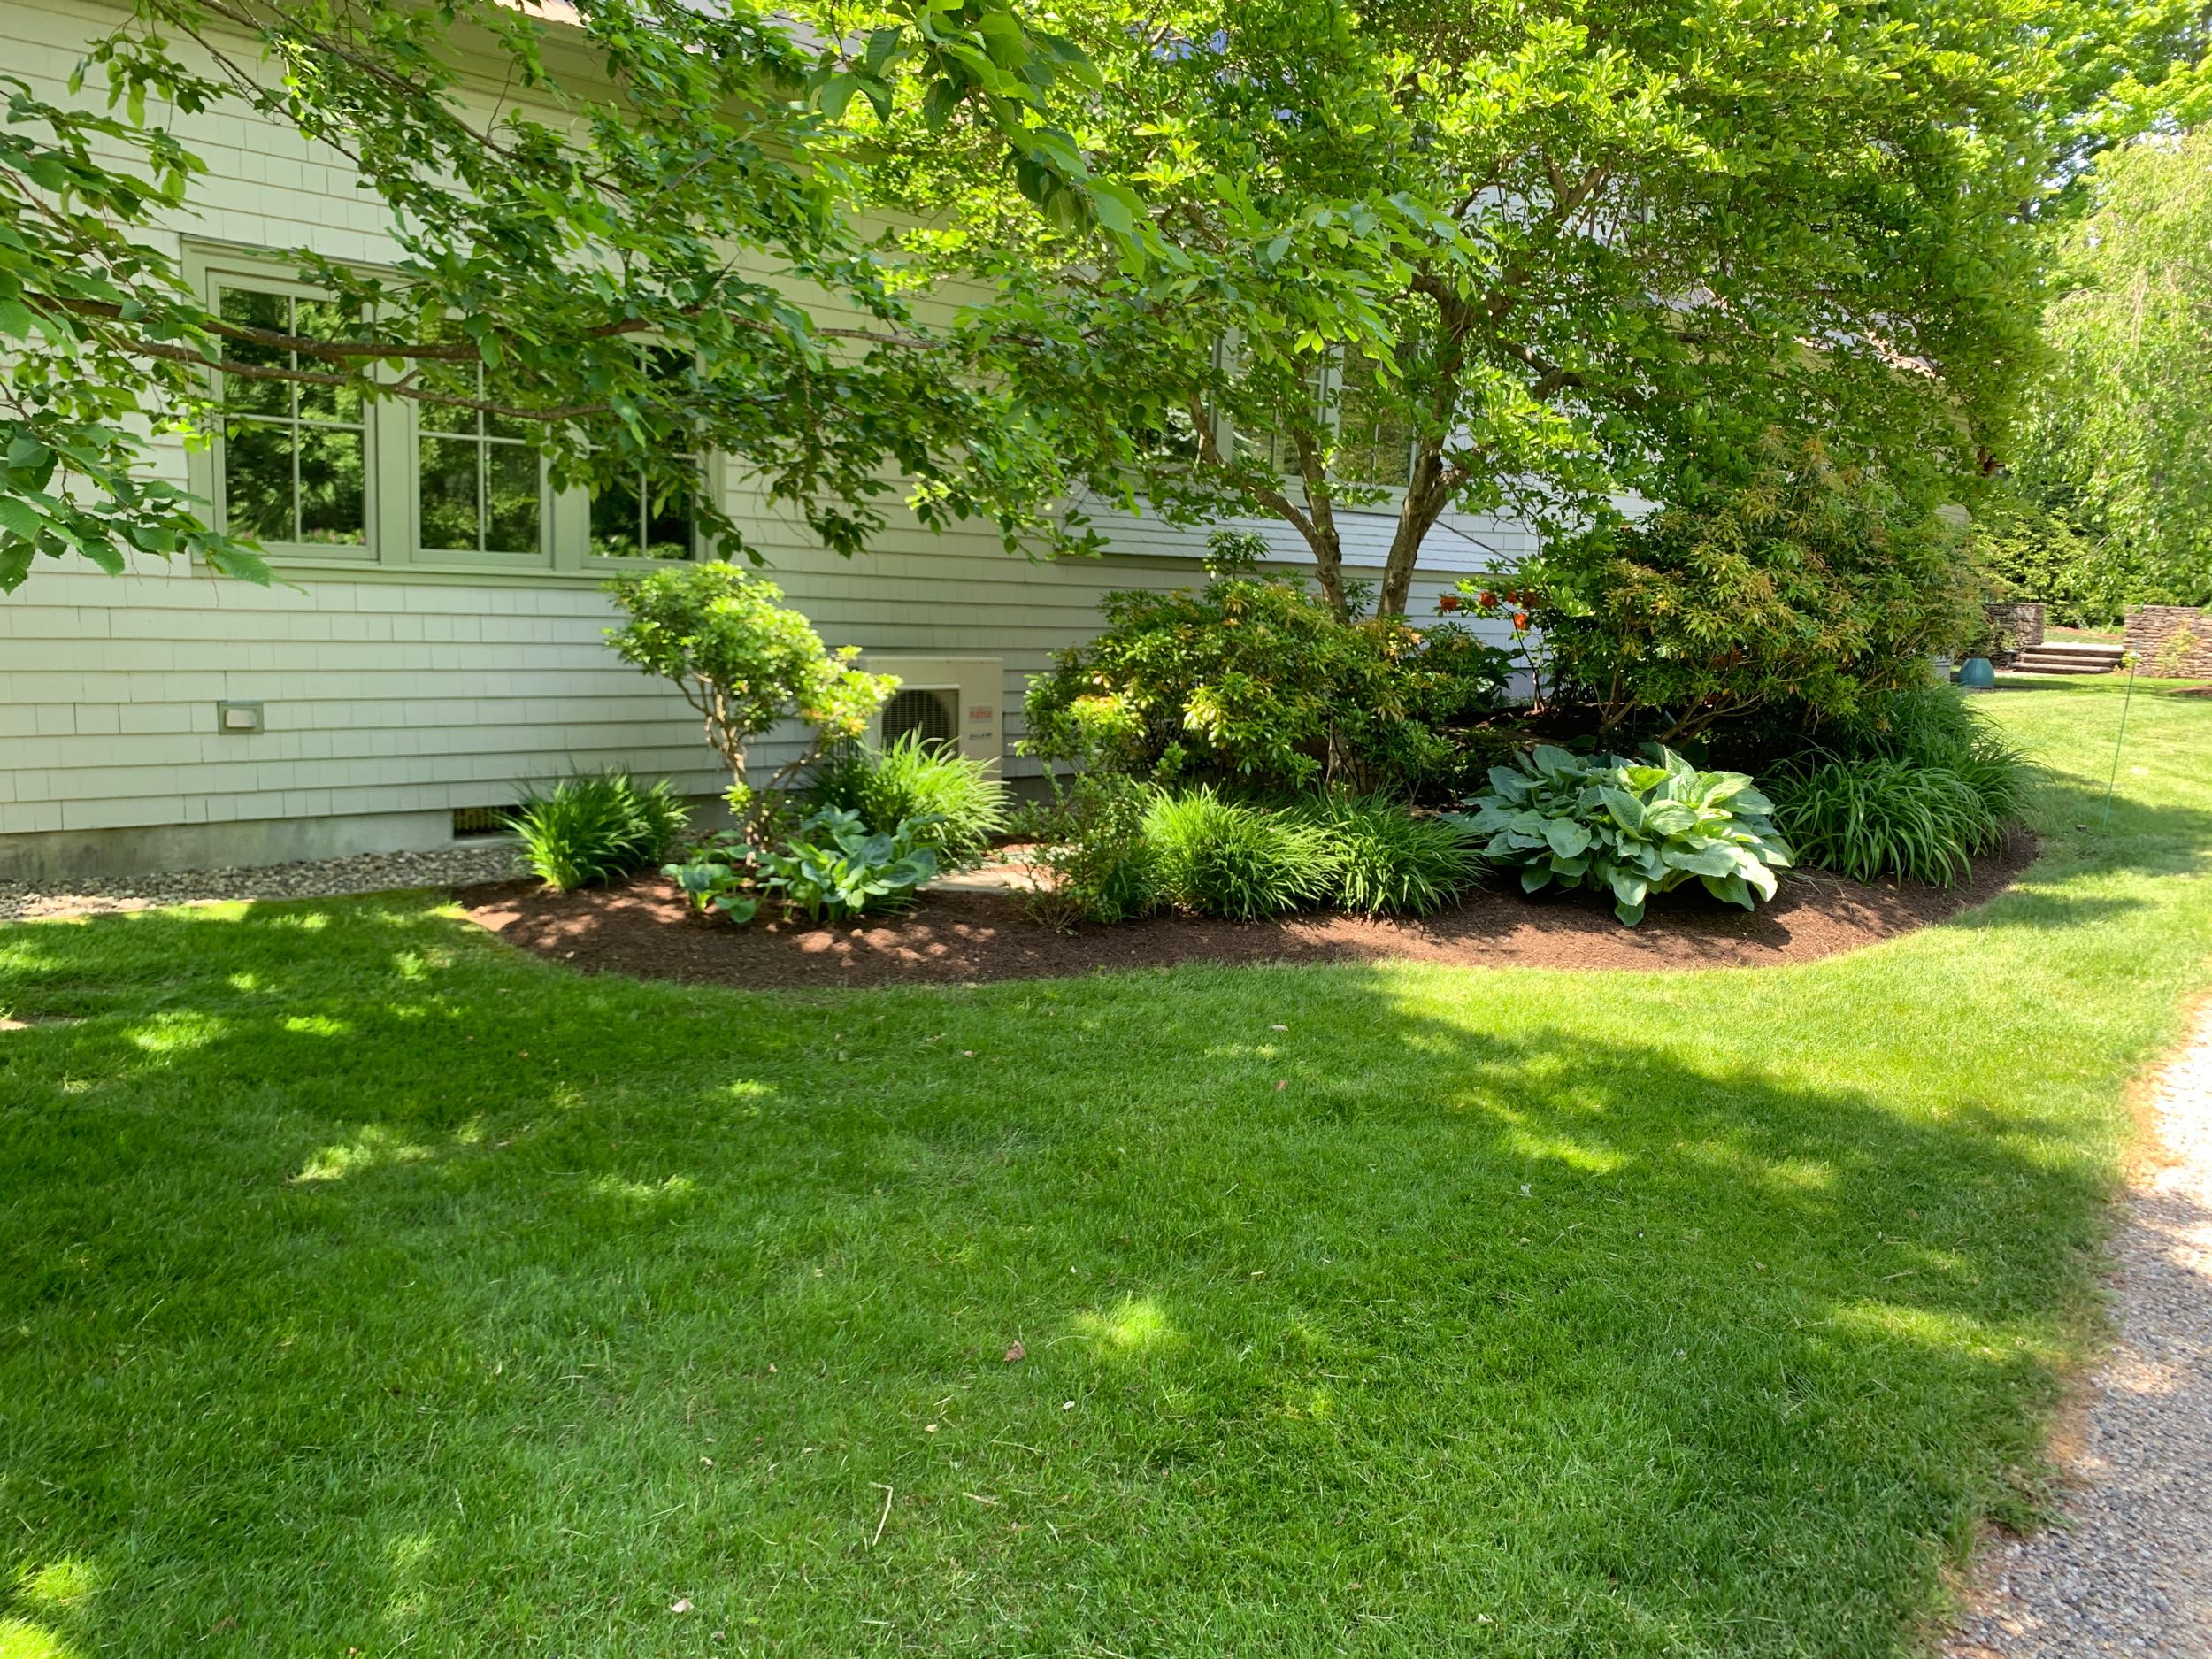
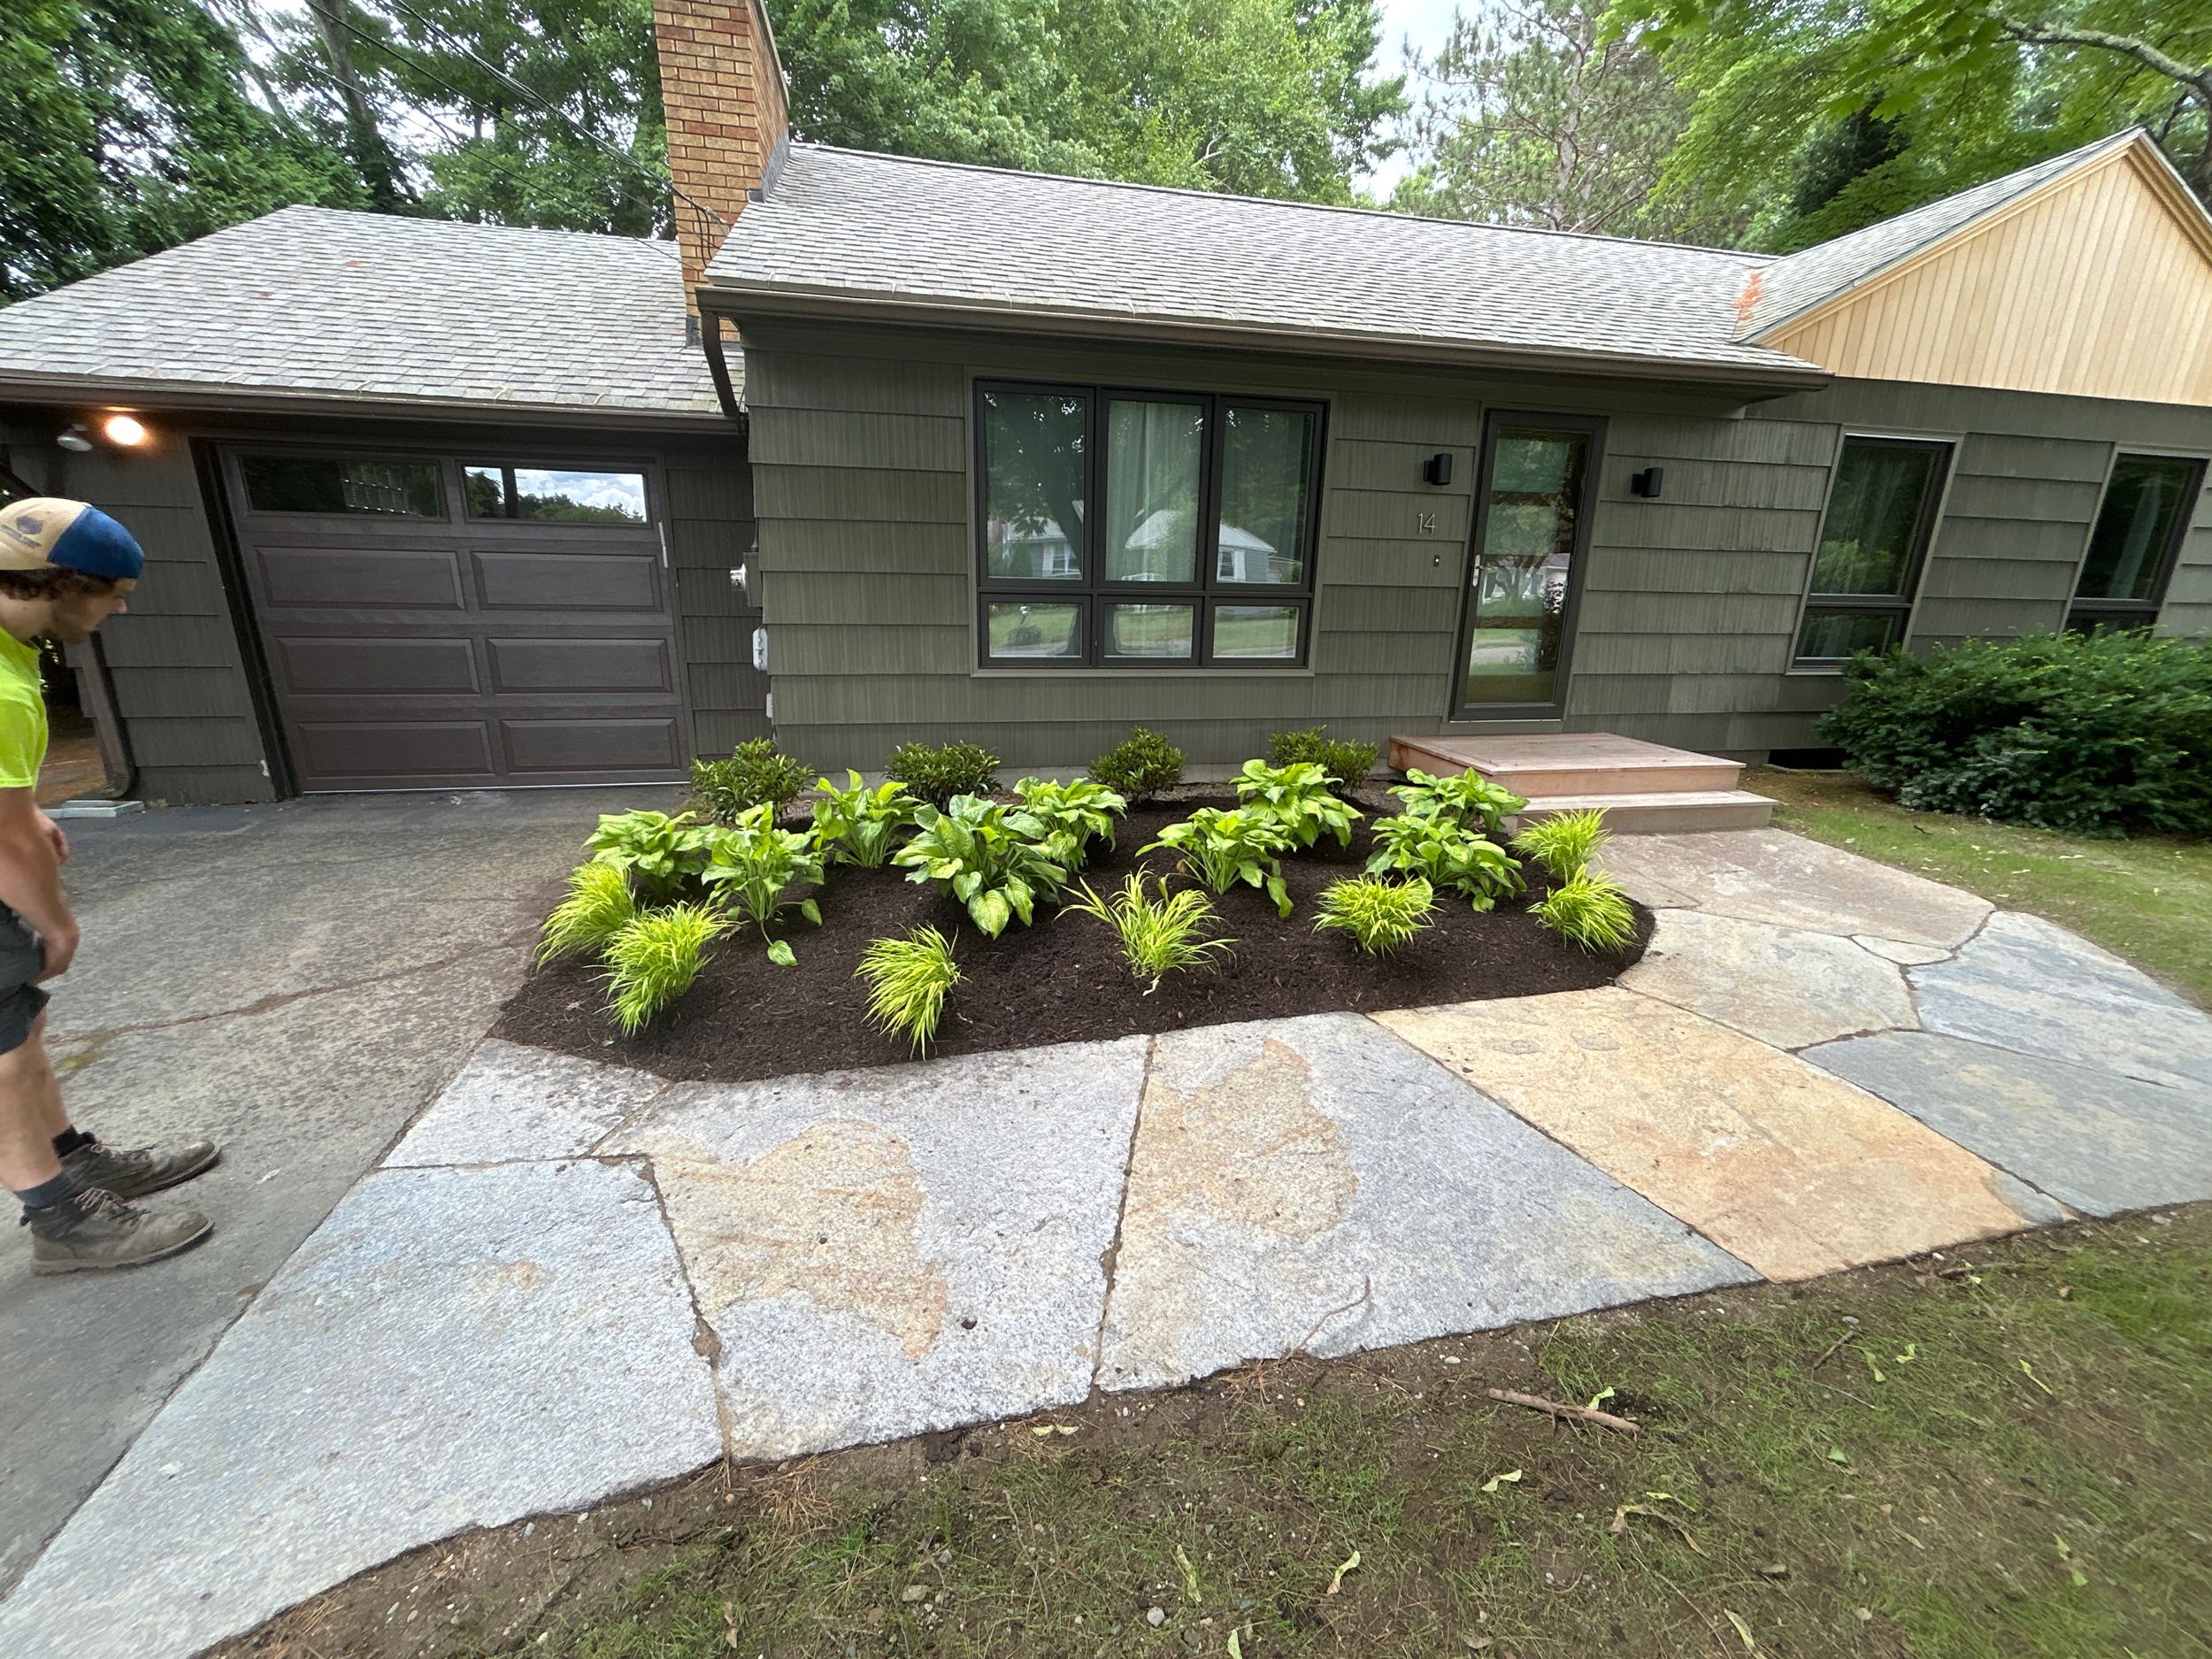
How to Care for Your New Landscape Beds and Plantings
Keep Your Garden Beds Healthy, Vibrant, and Thriving All Year Long
Your newly installed garden beds and plantings are an investment in beauty, function, and curb appeal. To keep them looking their best, consistent care throughout the season is essential. With just a bit of regular attention, your landscape will continue to thrive year after year.
🌱 Want to learn more about regular Garden care?
👉 Visit our Landscape Maintenance Page→
Regular Maintenance & Seasonal Care
✅ 1. Weed Management
-
Weeds compete with your plants for nutrients, water, and space.
-
We recommend hand-weeding or cultivating your beds every other week to prevent overgrowth and maintain a tidy appearance.
-
Consider adding or replenishing mulch to help suppress weeds and retain moisture.
🌼 2. Deadheading and Pruning
-
Regularly deadhead spent flowers to encourage new blooms and keep your plants tidy.
-
Light pruning may be needed to remove dead or damaged stems and encourage healthy structure.
🐛 3. Monitor for Pests and Disease
-
Inspect plants weekly for chewed leaves, discoloration, webbing, or wilting.
-
Treat issues promptly with organic or traditional solutions—early action prevents larger outbreaks.
-
Encourage beneficial insects like ladybugs and lacewings as part of your garden’s ecosystem.
🧊 4. Winter Protection
-
Some plants, especially broadleaf evergreens, are vulnerable to winter burn caused by cold, wind, and sun exposure.
-
In late fall, apply an anti-desiccant spray or use protective burlap wraps to help shield plants from winter moisture loss and freezing winds.
-
Avoid late-season fertilization that could stimulate tender growth before frost.
Fertilizing Trees, Shrubs, and Perennials in Your New Landscape
Supporting Strong, Healthy Growth From the Ground Up
Fertilizing your newly planted trees, shrubs, and perennials is a key step in helping them establish strong roots, vibrant foliage, and long-lasting blooms. But timing, technique, and product selection matter—especially in the first year after installation.
🌱 Want to learn more about long-term plant health and protection?
👉 Visit our Plant Health Care page →
🌳 Trees and Shrubs
✅ When to Fertilize:
-
Do not fertilize immediately after planting. Newly installed trees and shrubs should focus on root establishment rather than top growth.
-
Wait until the second growing season or after plants show signs of healthy establishment (typically 6–12 months) before applying fertilizer.
🛠 How to Fertilize:
-
Use a slow-release, low-nitrogen fertilizer formulated for trees and shrubs.
-
Apply around the drip line (the outer edge of the canopy), not at the base of the trunk.
-
For deep-root feeding, consider using fertilizer stakes or liquid injectors in spring or early fall.
💡 Pro Tip:
Too much nitrogen too soon can lead to leggy growth and reduced root development. Patience pays off—established roots lead to stronger, more resilient plants.
🌸 Perennials
✅ When to Fertilize:
-
Fertilize 4–6 weeks after planting or once plants begin active growth.
-
Repeat with a light feeding every 6–8 weeks during the growing season, depending on the plant type and soil condition.
🛠 How to Fertilize:
-
Use a balanced fertilizer (such as 10-10-10 or 5-10-5) or a product specifically formulated for perennials.
-
Apply granular fertilizer around the plant base and water in thoroughly, or use a diluted liquid fertilizer for quicker absorption.
🌼 Additional Tips:
-
Avoid fertilizing late in the season (after early September) to prevent tender new growth before frost.
-
Organic options like compost or fish emulsion are excellent for promoting long-term soil health.
🌾 Soil Testing = Smart Fertilizing
Better View Landscapes offers free annual soil tests with many of our lawn and plant care programs. This helps ensure you’re not over-fertilizing and that your landscape gets exactly what it needs.
Feeding Your Grass for Strong Roots and Vibrant Growth
A healthy, lush lawn starts with a solid foundation—and fertilizing at the right time is a key part of that. Whether you’ve recently seeded, hydroseeded, or installed sod, your new lawn will benefit from a strategic fertilization plan that supports root development, thickens turf, and promotes long-term health.
✅ When to Fertilize a New Lawn
1. At Installation (Starter Fertilizer)
Most new lawns benefit from a starter fertilizer applied at the time of installation. These blends are specially formulated with higher phosphorus content to encourage deep root growth.
2. After Germination or Root Establishment (4–6 Weeks Later)
Once your grass has germinated (for seed/hydroseed) or established roots (for sod), apply a balanced, slow-release fertilizer to support vigorous blade growth and fill-in.
-
For seeded lawns: fertilize after the first or second mow
-
For sod lawns: fertilize 3–4 weeks after installation, once sod resists light tugging
3. Seasonal Feedings
After initial establishment, continue with seasonal fertilization (spring, early summer, and fall) to strengthen your lawn and maintain color, density, and resilience.
🧪 Know What Your Lawn Needs
We recommend pairing fertilization with a soil test to ensure your lawn receives the proper nutrients—without the guesswork. Our team provides free soil testing as part of most lawn care programs, helping you avoid over- or under-fertilizing.
⚠️ Avoid These Common Mistakes
-
Too much nitrogen early on can burn young grass or encourage weak top growth
-
Skipping fertilizer altogether can slow establishment and leave your lawn vulnerable to weeds
-
Late-season fertilizing with high-nitrogen products may promote tender growth prone to frost damage
🌱 Let Us Help You Get It Right
Better View Landscapes offers tailored fertilization programs for every lawn type—whether you’re just starting or maintaining a mature yard. Our programs include slow-release nutrients, bio-nutrient options, organic packages, and ongoing monitoring for the best results.
How to Water Your Newly Installed Plantings
Keep Your Trees, Shrubs, and Perennials Thriving from Day One
Proper watering is the single most important step you can take to help your new trees, shrubs, and perennials establish strong roots and adapt to their new environment. Too little water and they’ll struggle to survive. Too much water and they risk disease or root rot.
This quick guide will help you water with confidence—giving your new landscape the strong start it needs.
🌱 The First 2 Weeks After Planting
Goal: Keep the root zone consistently moist, but not soggy.
-
Water every 2–3 days, depending on weather, soil type, and plant size
-
Check soil moisture with your fingers or a trowel—soil should feel damp 4–6 inches below the surface
-
For shrubs and perennials: apply water slowly at the base of each plant
-
For trees: use a slow trickle with a hose for 15–30 minutes, or utilize a tree watering bag
💡 Pro Tip: Morning watering is best. It reduces evaporation and lowers the risk of fungal issues.
📆 Weeks 3–6: Adjusting Your Schedule
As plants begin to establish:
-
Water once every 3–4 days, or as needed based on rainfall and temperature
-
Continue deep watering to encourage strong root growth
-
Always water at the base of the plant—avoid wetting foliage to reduce the risk of disease
-
In hot, dry, or windy weather, increase frequency accordingly
🌳 Watering by Plant Type
| Plant Type | Watering Needs |
|---|---|
| 1-Gallon Plants | Water daily for the first 2 weeks, then follow regular schedule |
| Perennials | Water daily for the first month, then every 3–4 days |
| Shrubs (3–5 gallons) | Deep watering every 2–3 days for the first 3 weeks |
| Trees (10+ gallons) | Slow, deep soak every 3–4 days (10–12″ deep); use a hose or watering bag |
| Evergreens | Consistent moisture; water weekly (increase in heat or drought) |
❗ Watch for Signs of Water Stress
Underwatering Signs:
-
Drooping, curling, or wilting leaves
-
Dry or powdery soil
-
Leaf scorch (brown edges)
Overwatering Signs:
-
Yellowing or mushy leaves
-
Foul odor from the soil
-
Soil consistently wet or puddled
🍂 Seasonal Considerations
-
Fall Installations: Water until the ground freezes to help plants enter dormancy well-hydrated
-
Winter-Proofing: For evergreens, apply anti-desiccant sprays to reduce moisture loss during cold, windy months
-
Mulch Matters: Apply a 2–3″ mulch layer around the base of each plant to retain moisture and protect roots. Keep mulch away from stems and trunks.
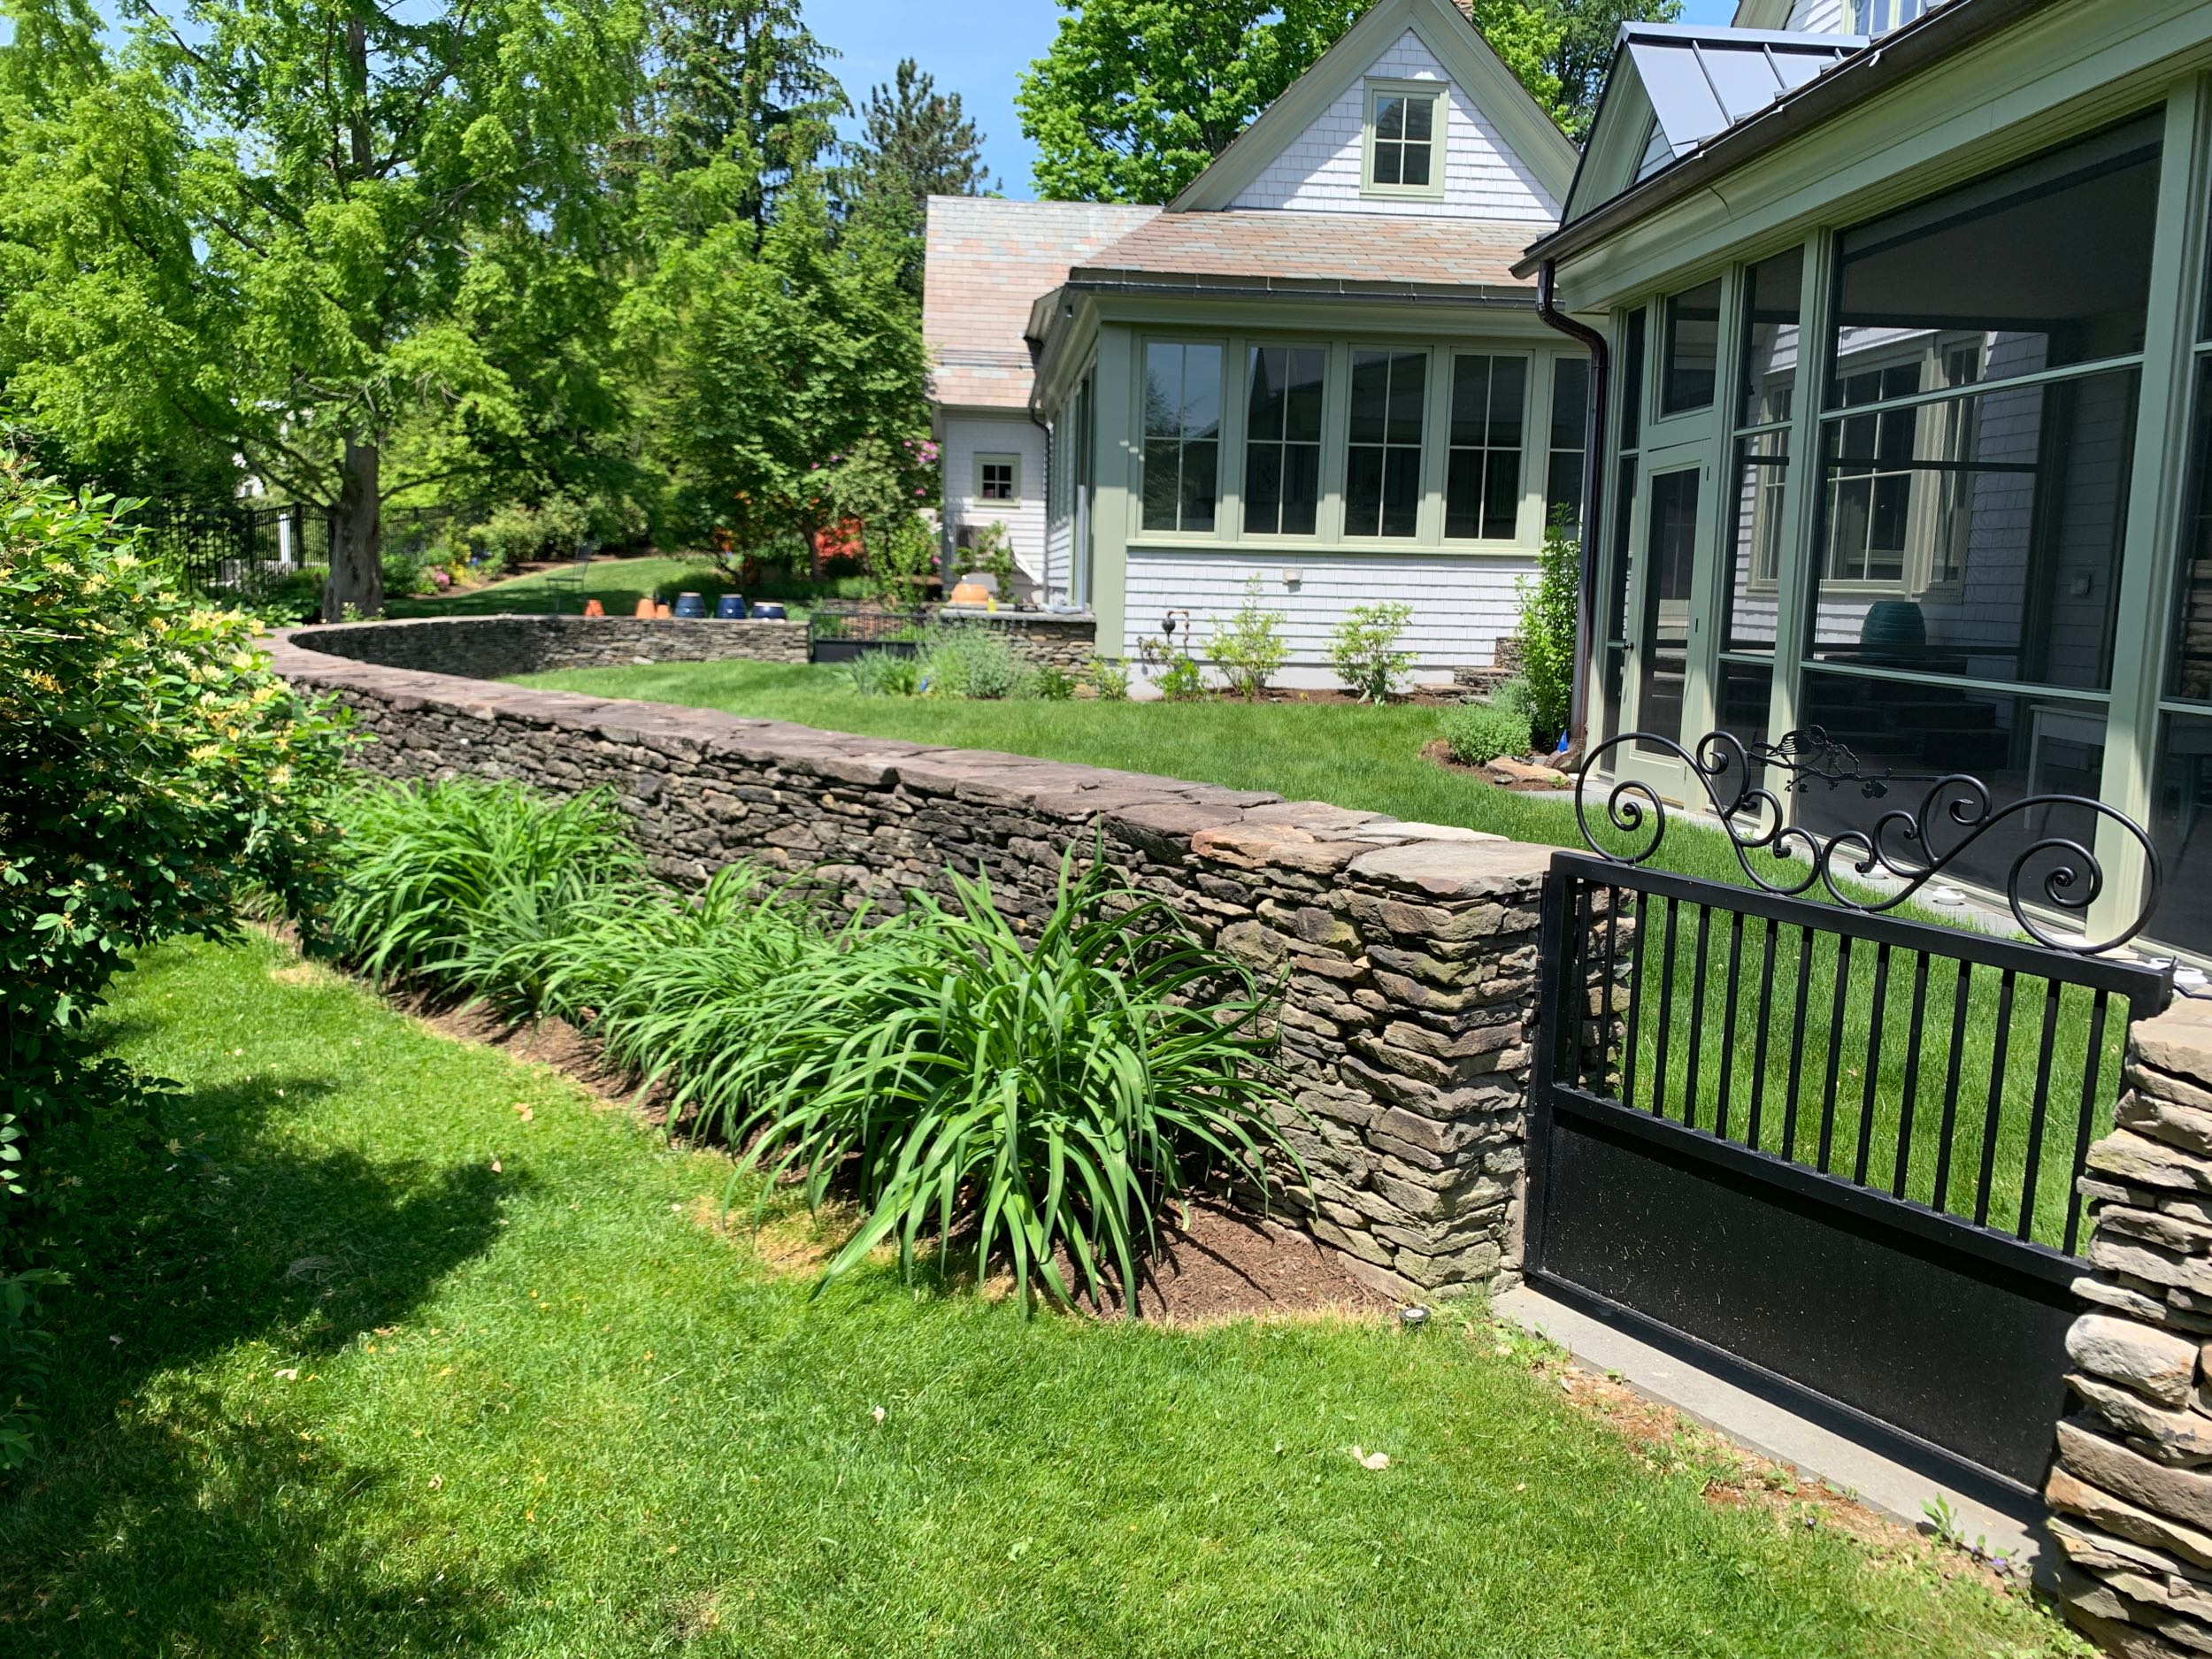
Caring for Your New Hardscape
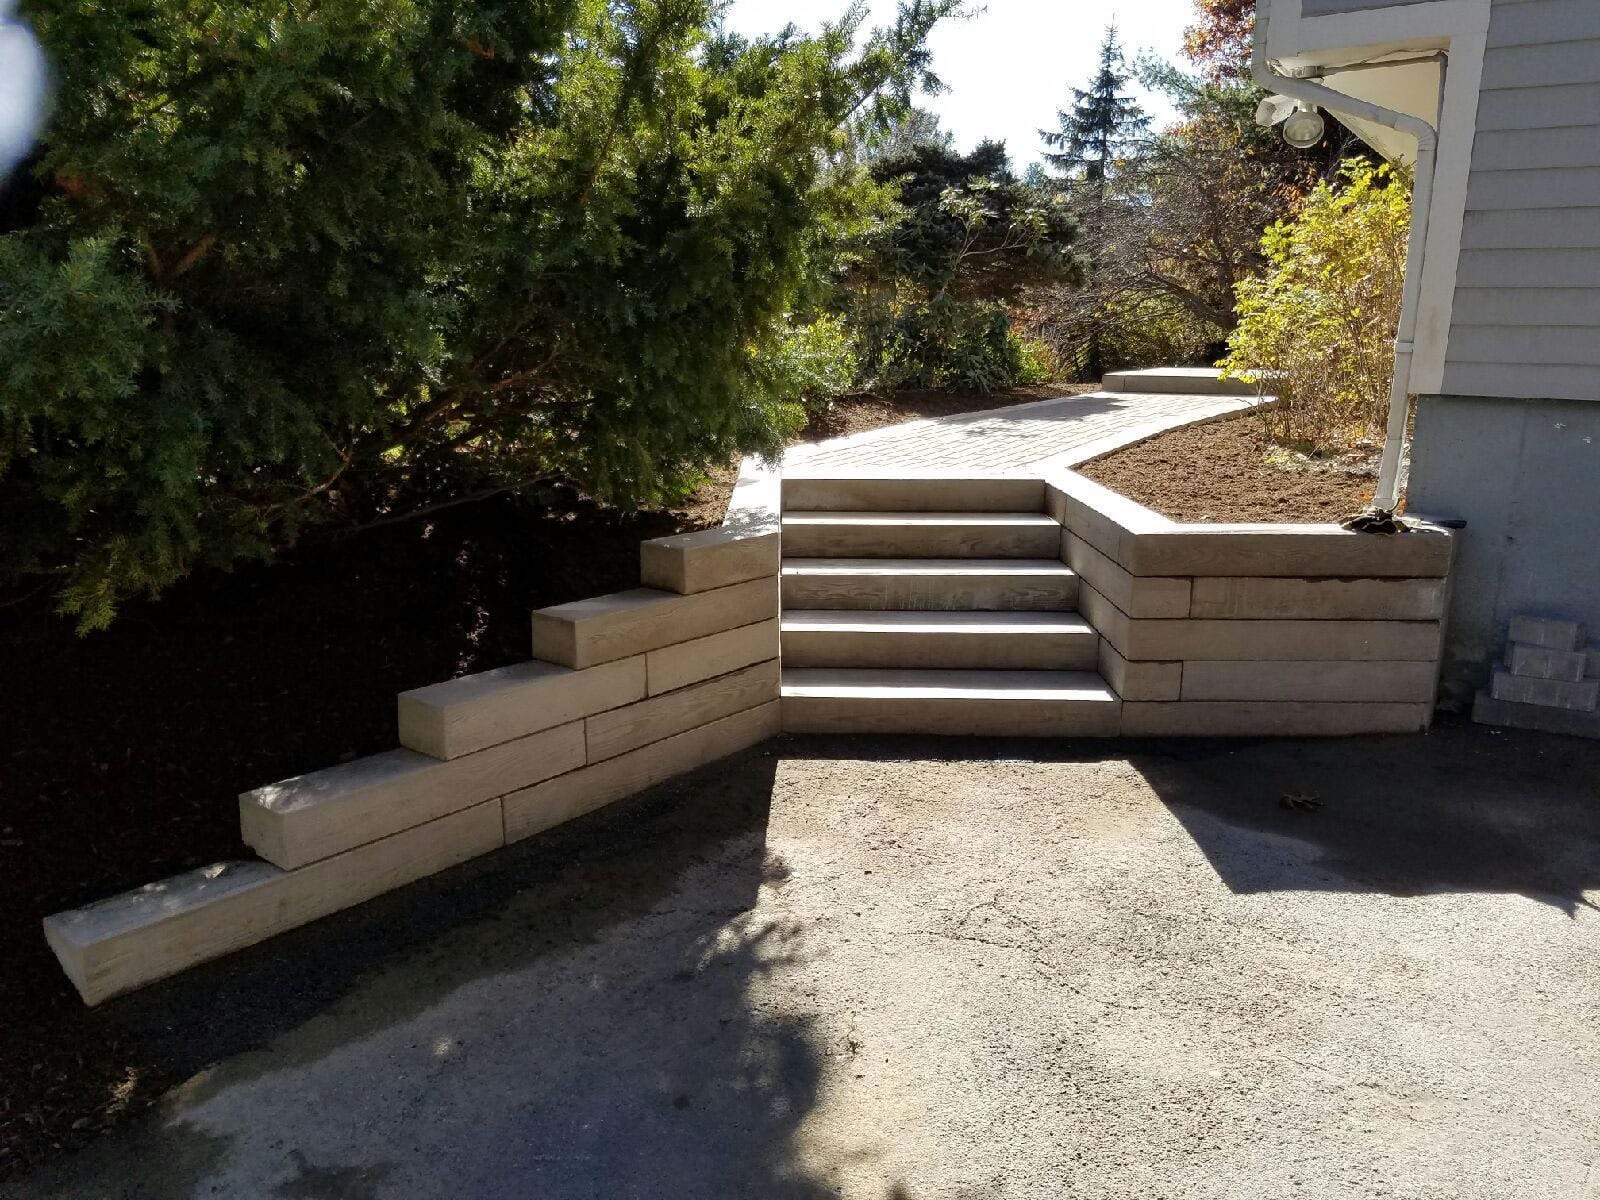
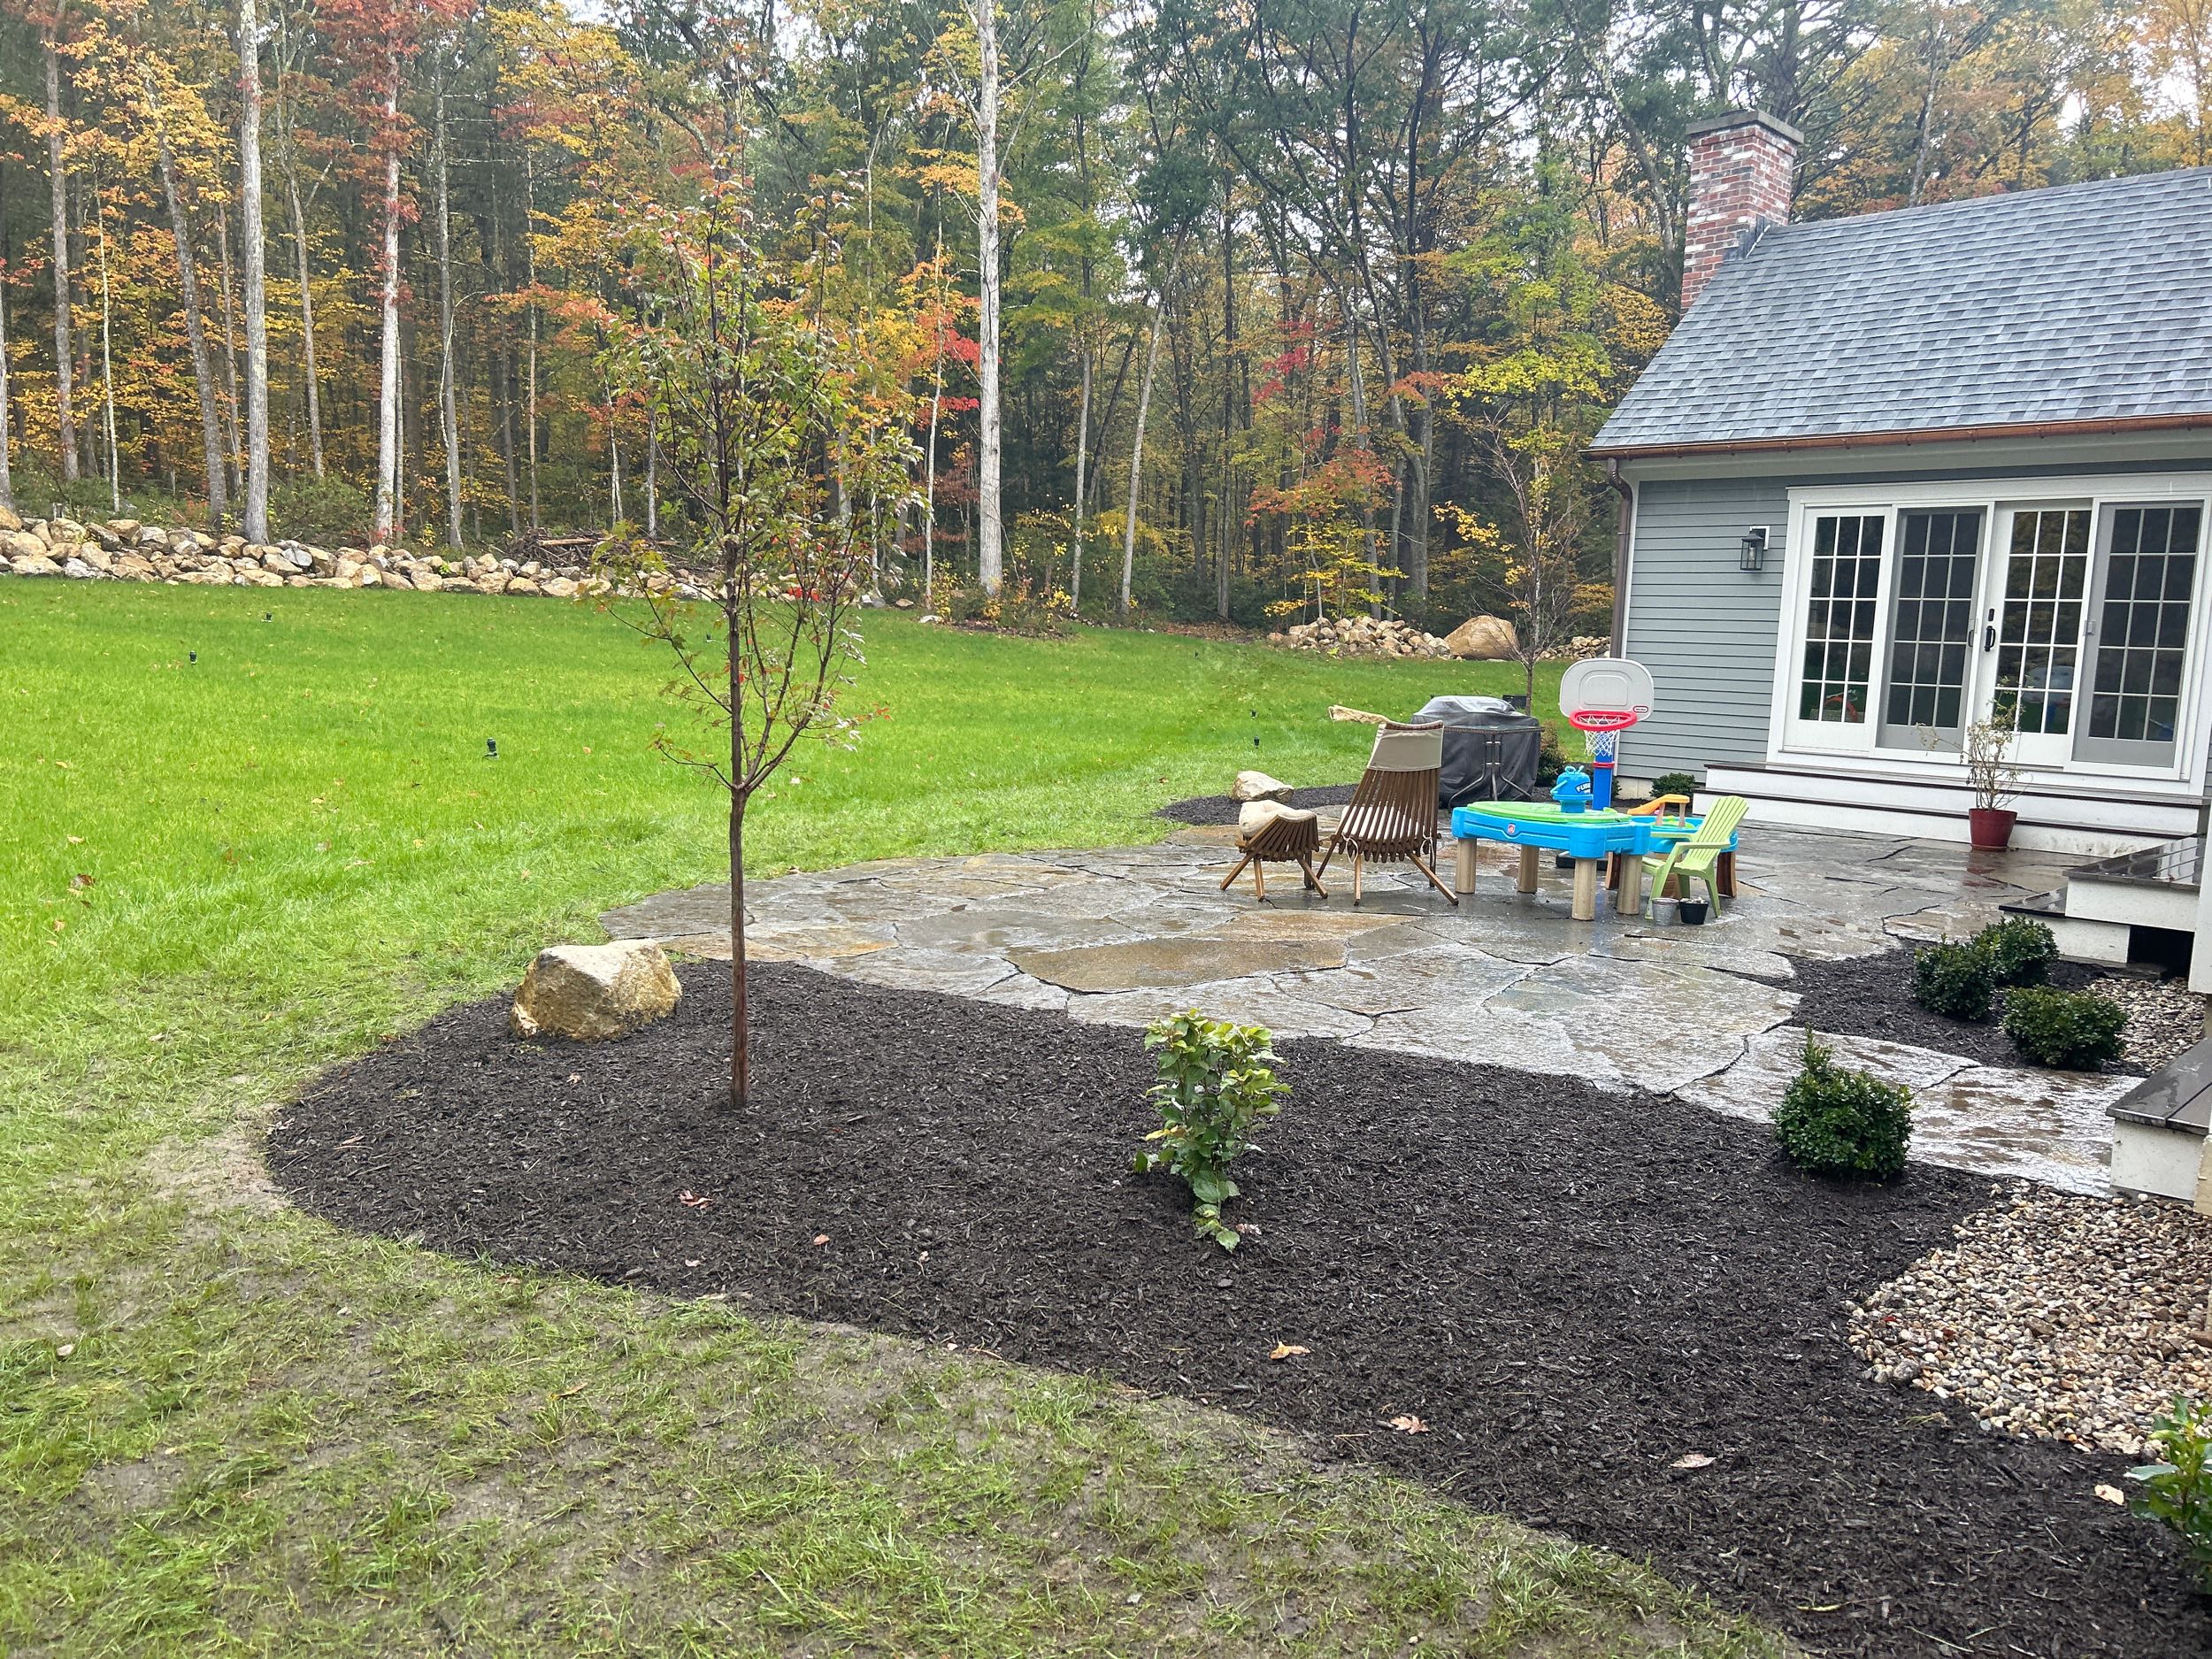

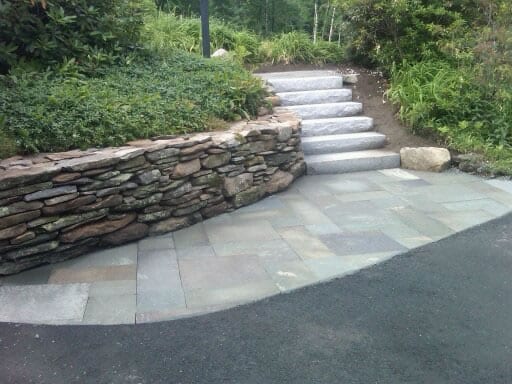
Built to Last—Maintained to Impress
Your new patio, walkway, retaining wall, or outdoor living area was built with durability in mind—but like any quality investment, it benefits from a little ongoing attention to keep it looking its best.
While hardscapes are low-maintenance by nature, routine care helps protect against weathering, staining, shifting, and wear over time. Simple seasonal maintenance will not only extend the life of your hardscape but also preserve the clean, polished look you love.
In the sections below, we’ll guide you through everything you need to know—from cleaning and sealing to preventing weed growth and managing winter wear—so your outdoor surfaces stay beautiful and functional for years to come.
Because at Better View Landscapes, we believe craftsmanship deserves care.
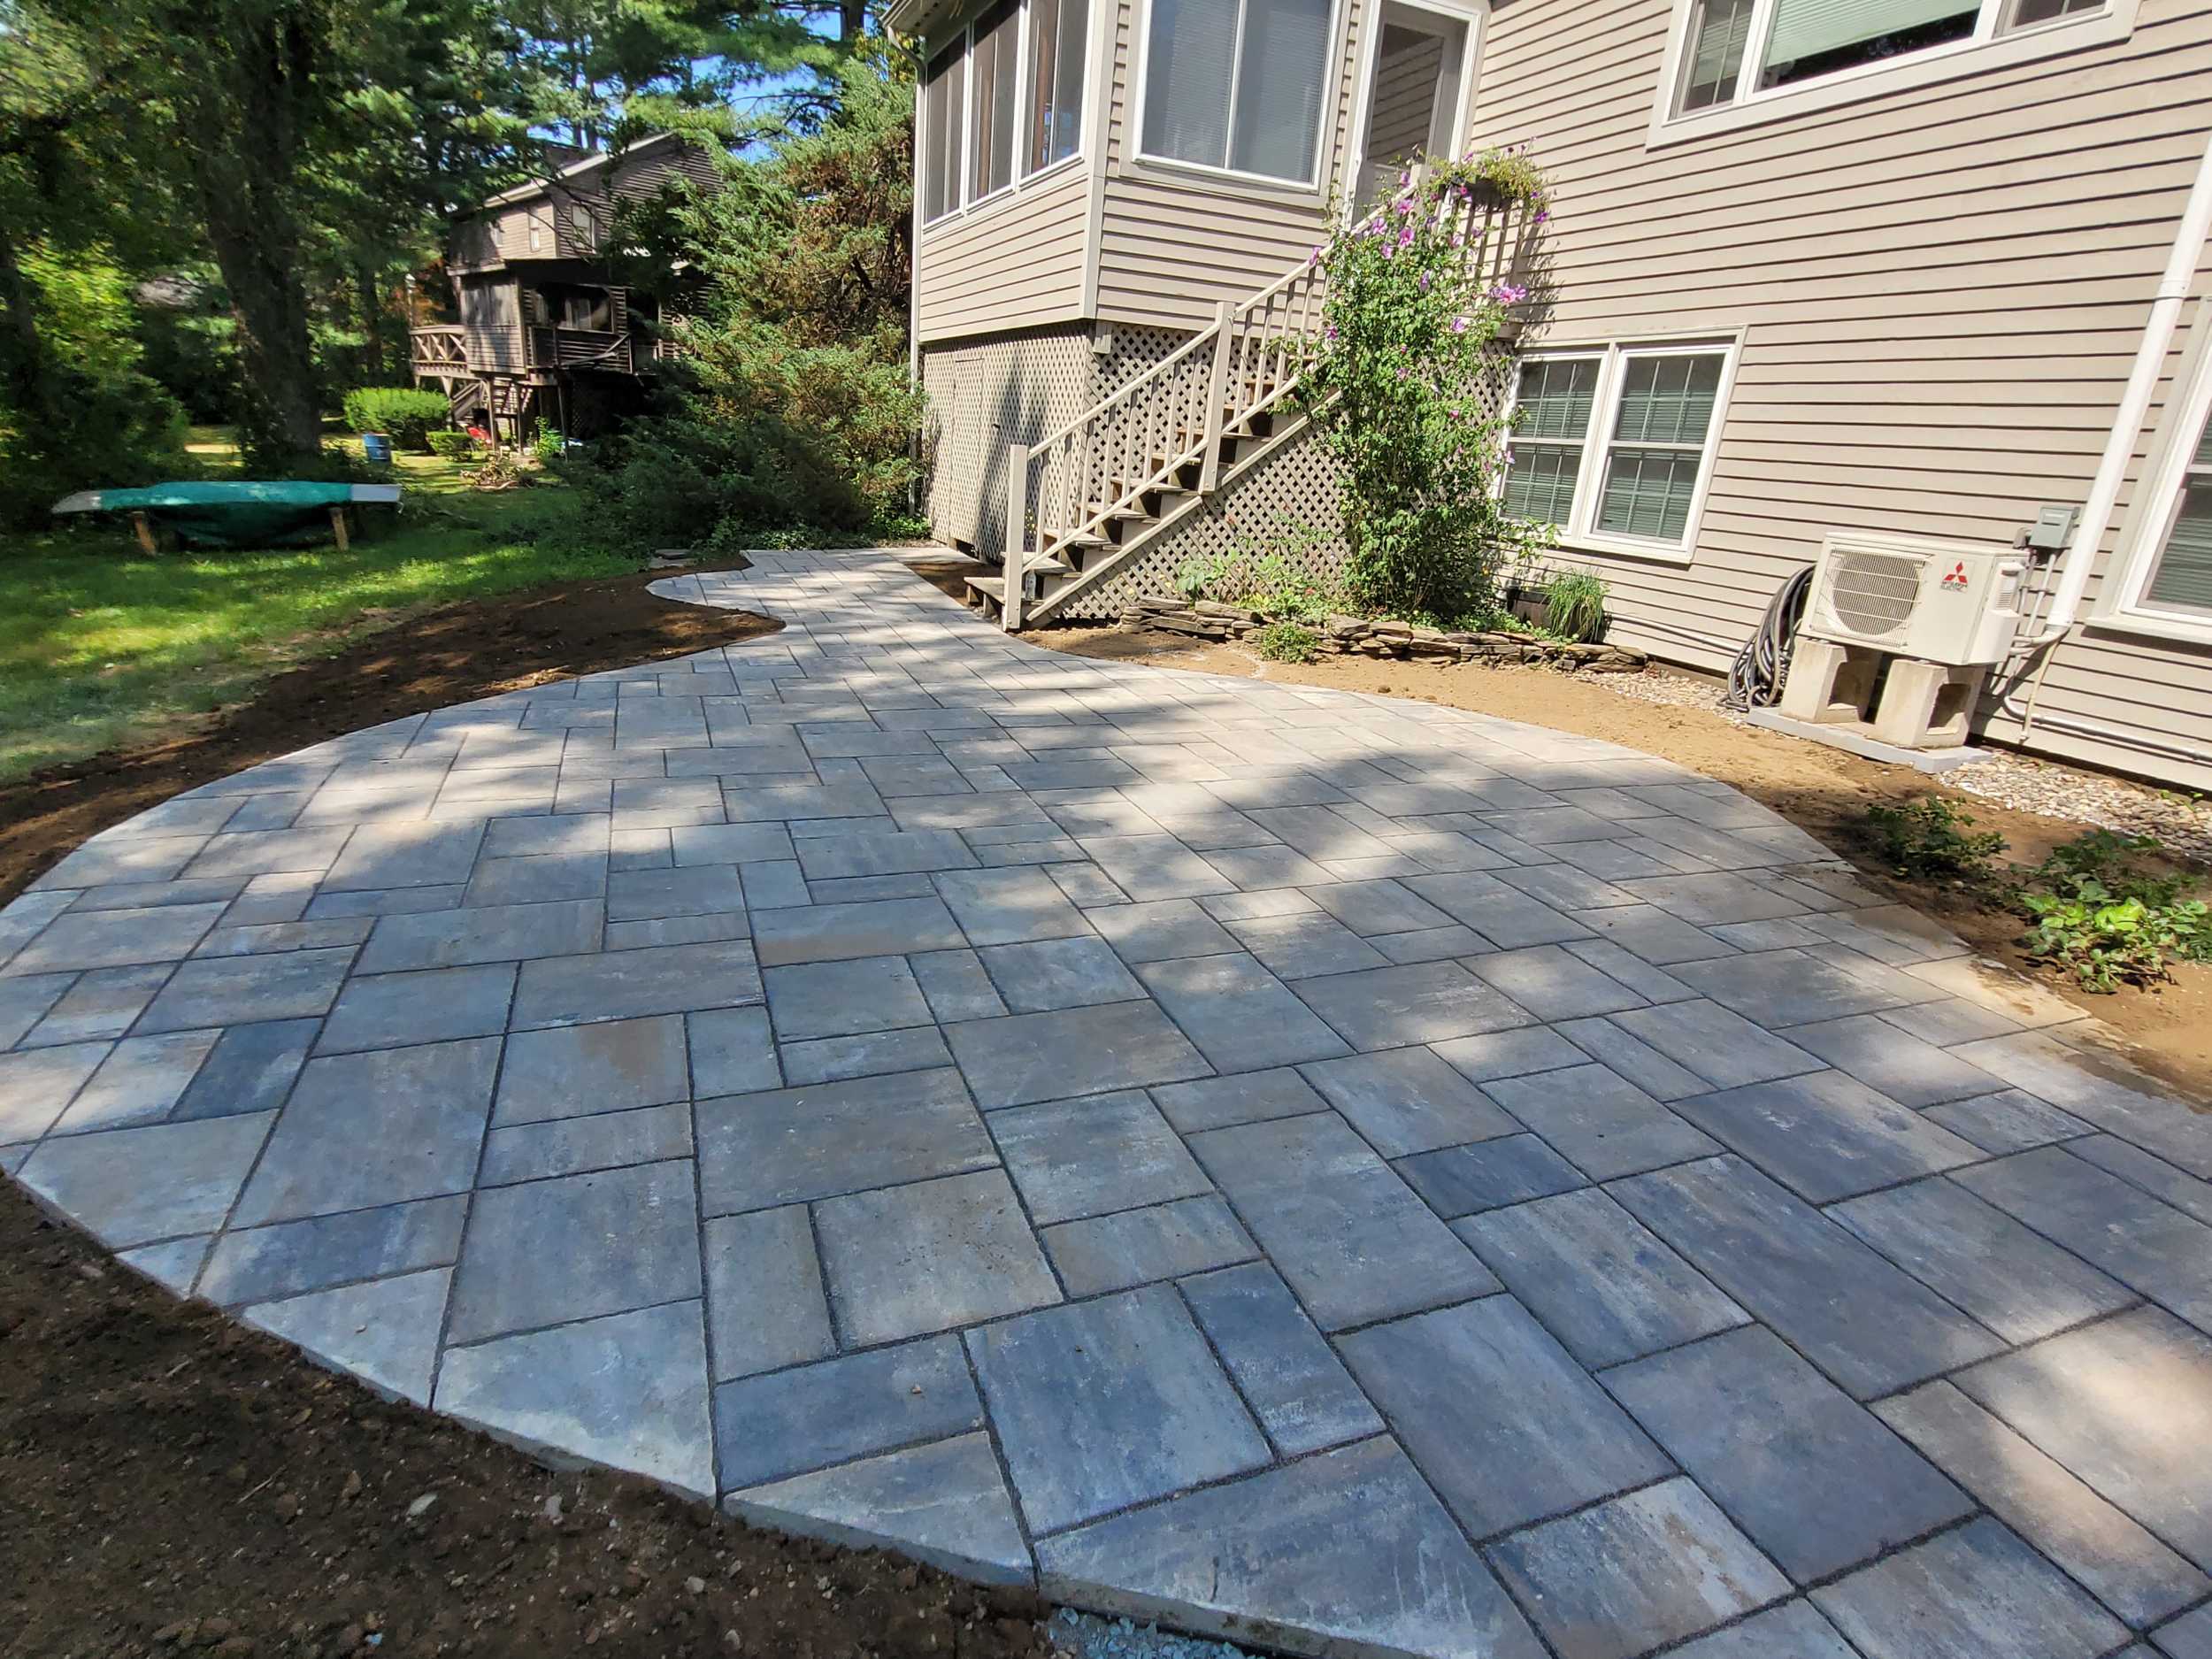
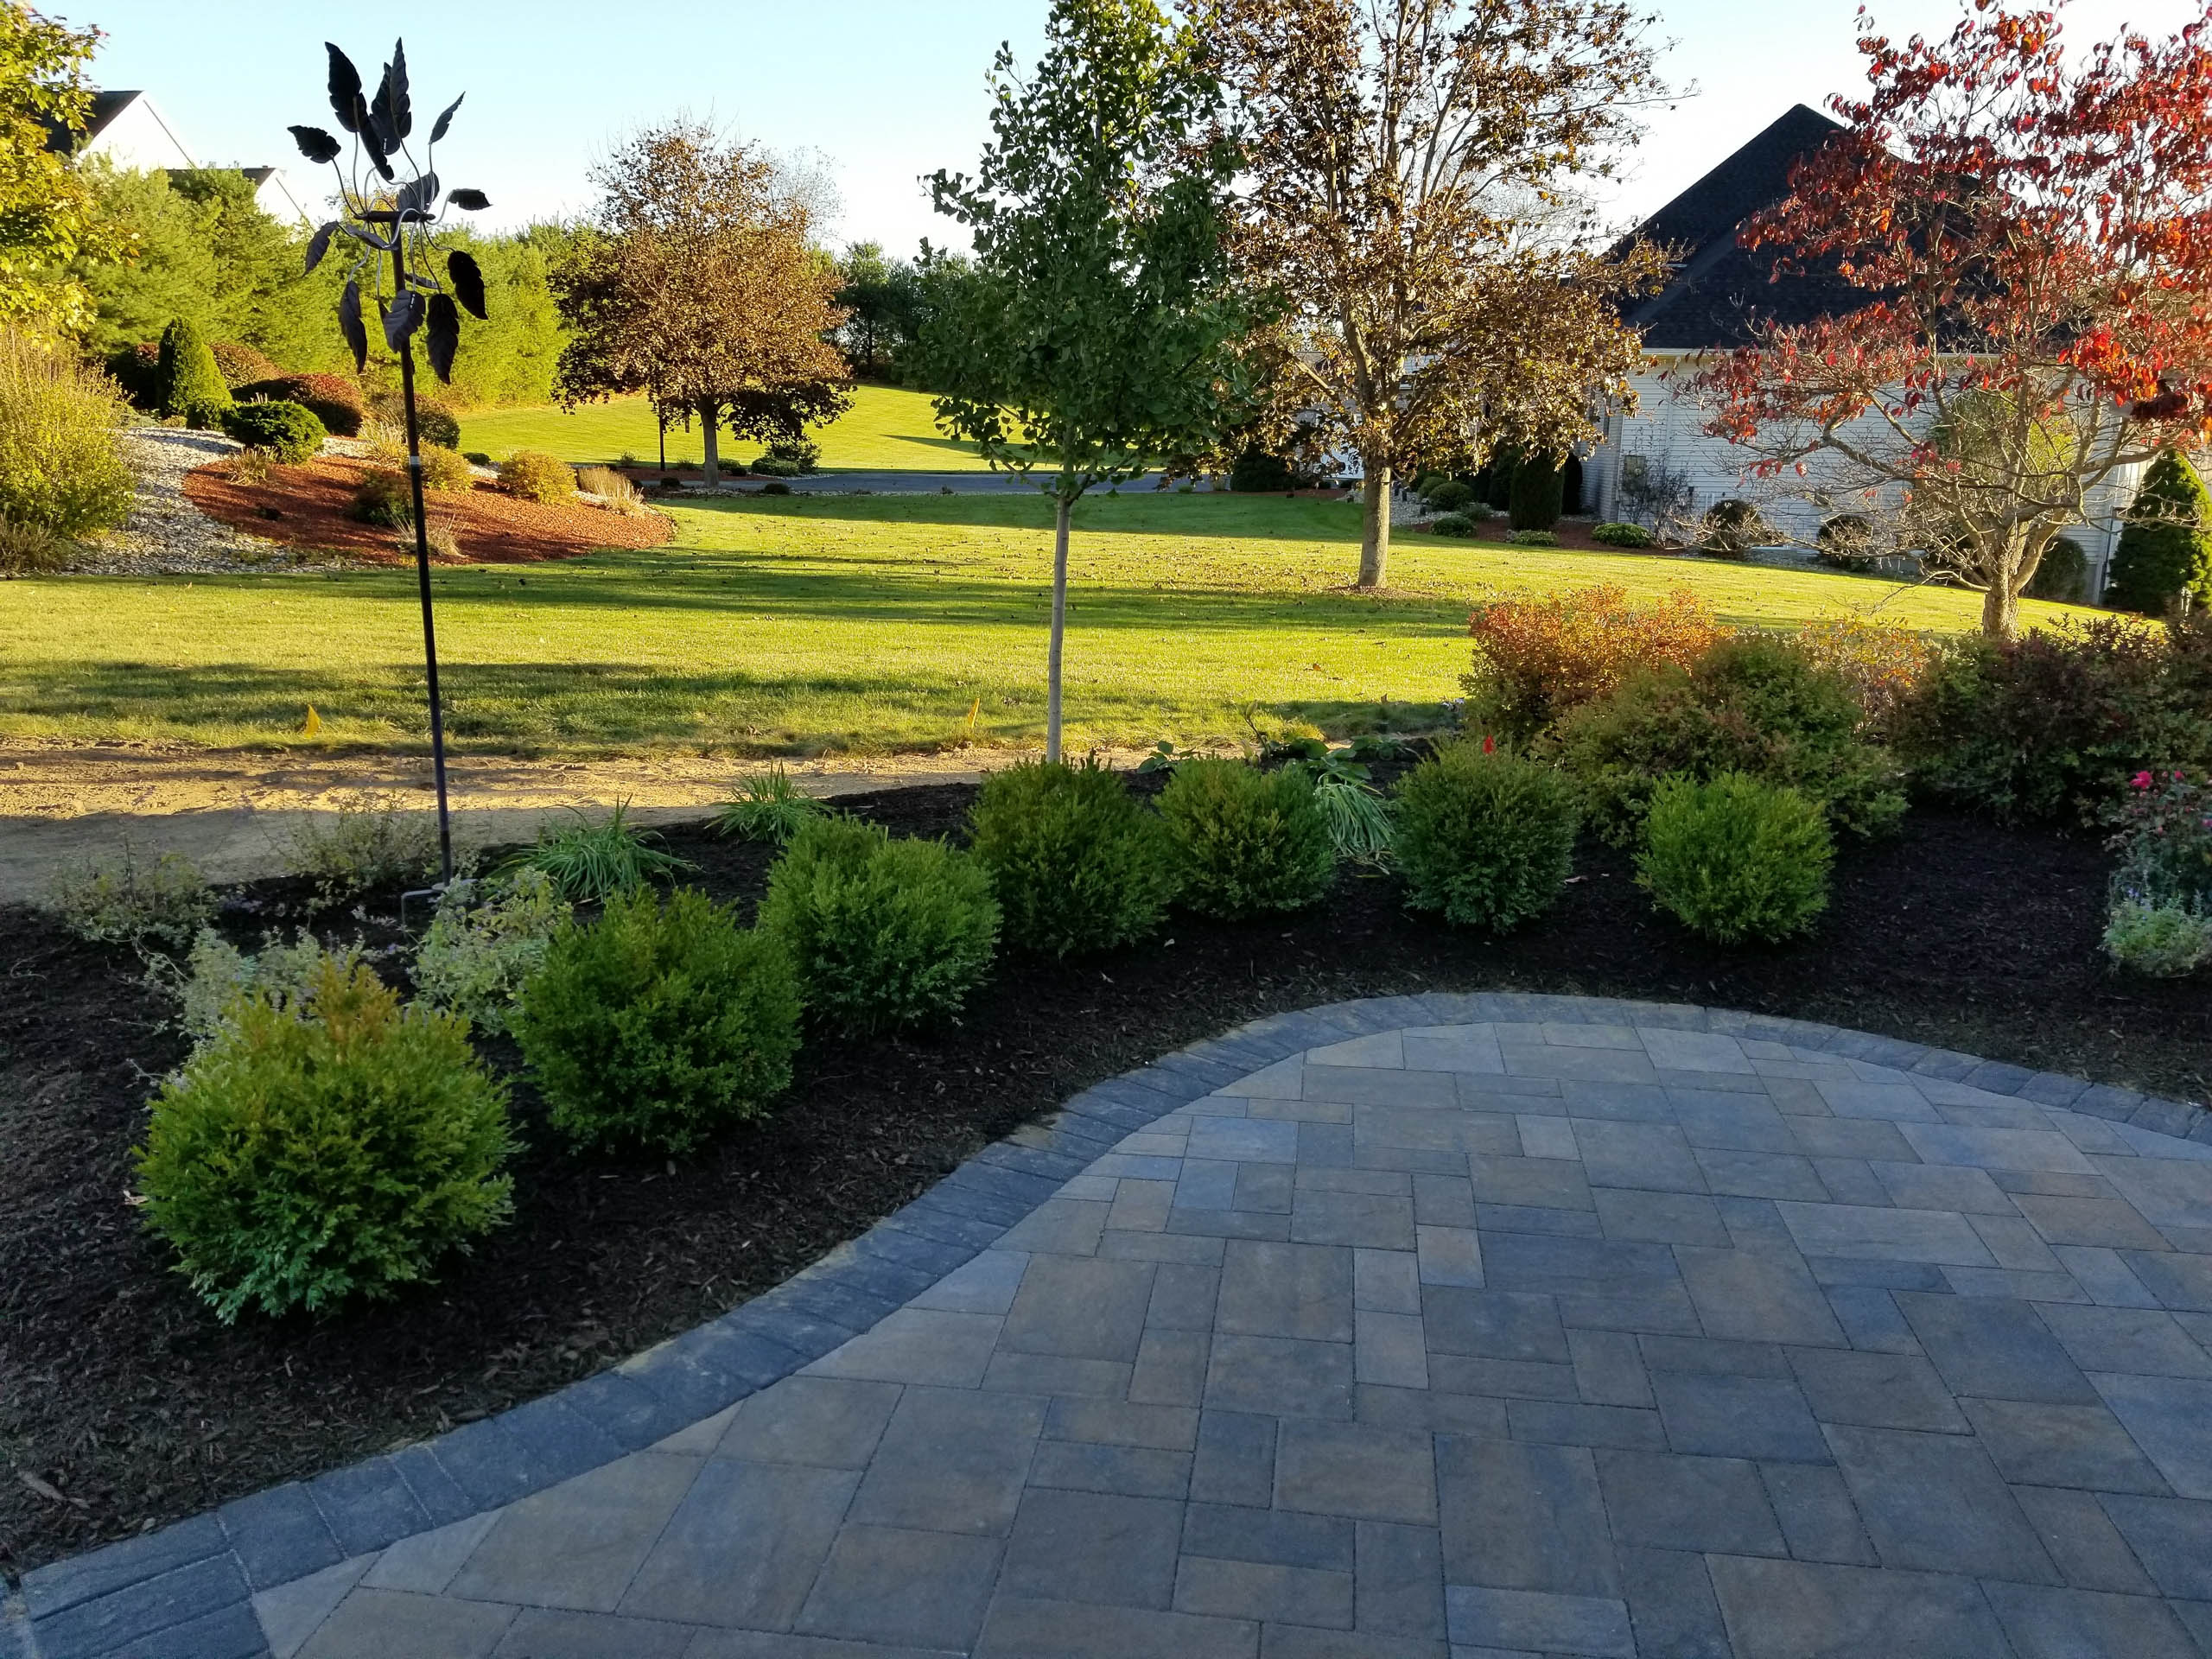
Caring for Your Paver Patio
Protecting Beauty, Function, and Longevity
Your paver patio is designed to provide years of enjoyment—but like any high-quality outdoor surface, it needs periodic maintenance to stay looking and performing its best. Here’s how to keep your patio clean, safe, and structurally sound season after season.
🧹 Cleaning Your Patio
-
Sweep regularly to remove leaves, dirt, and debris that can stain or encourage moss/mildew growth.
-
Wash with a garden hose or low-pressure power washer as needed.
-
Use a mild detergent and stiff brush for routine surface cleaning.
Avoid harsh chemicals, as they can damage paver color and break down joint sand.
⚠️ Dealing with Stains
If you notice a stain (from food, rust, grease, or organic material):
-
Act quickly—the sooner you clean it, the better.
-
For organic stains: try a mix of water and white vinegar or a specialized paver-safe cleaner.
-
For oil/grease stains: use an oil remover or degreaser made for masonry.
-
For rust stains: choose a paver-safe rust remover—never use muriatic acid.
Always test cleaning solutions in an inconspicuous area first.
Joint Sand & Polymeric Sand Maintenance
The sand between your pavers is critical—it locks the system together and prevents weed growth and shifting.
-
Most patios use polymeric sand, which hardens when activated with water and helps resist erosion.
-
Expect to replenish or touch up joints every 3–5+ years, depending on traffic and weather exposure.
-
If sand begins to wash out or weeds appear, it may be time to reapply joint sand and reseal.
For best results, reseal your patio when refreshing joint sand to help lock everything in place and prevent future erosion.
🚫 Traffic Considerations
-
Do not drive any vehicle on your paver patio unless it was specifically built to support vehicular loads.
-
Riding lawn mowers or other heavy equipment can cause long-term wear, shifting, or cracking—especially along edges.
-
Stick to foot traffic and lightweight furniture for optimal durability and appearance.
❄️ Ice Melts & Winter Tips
-
Use paver-safe ice melt products labeled “safe for concrete or stone”—look for calcium magnesium acetate (CMA) or potassium-based blends.
-
Avoid rock salt (sodium chloride) and blends with added dyes or chemicals that can stain or damage the surface.
-
Shovel with plastic snow shovels only to avoid scratching or chipping the pavers.
Always rinse off residual ice melt in spring to protect the integrity of your pavers and joint sand.
Proper care ensures your patio remains a beautiful, functional space for gathering, relaxing, and enjoying the outdoors.
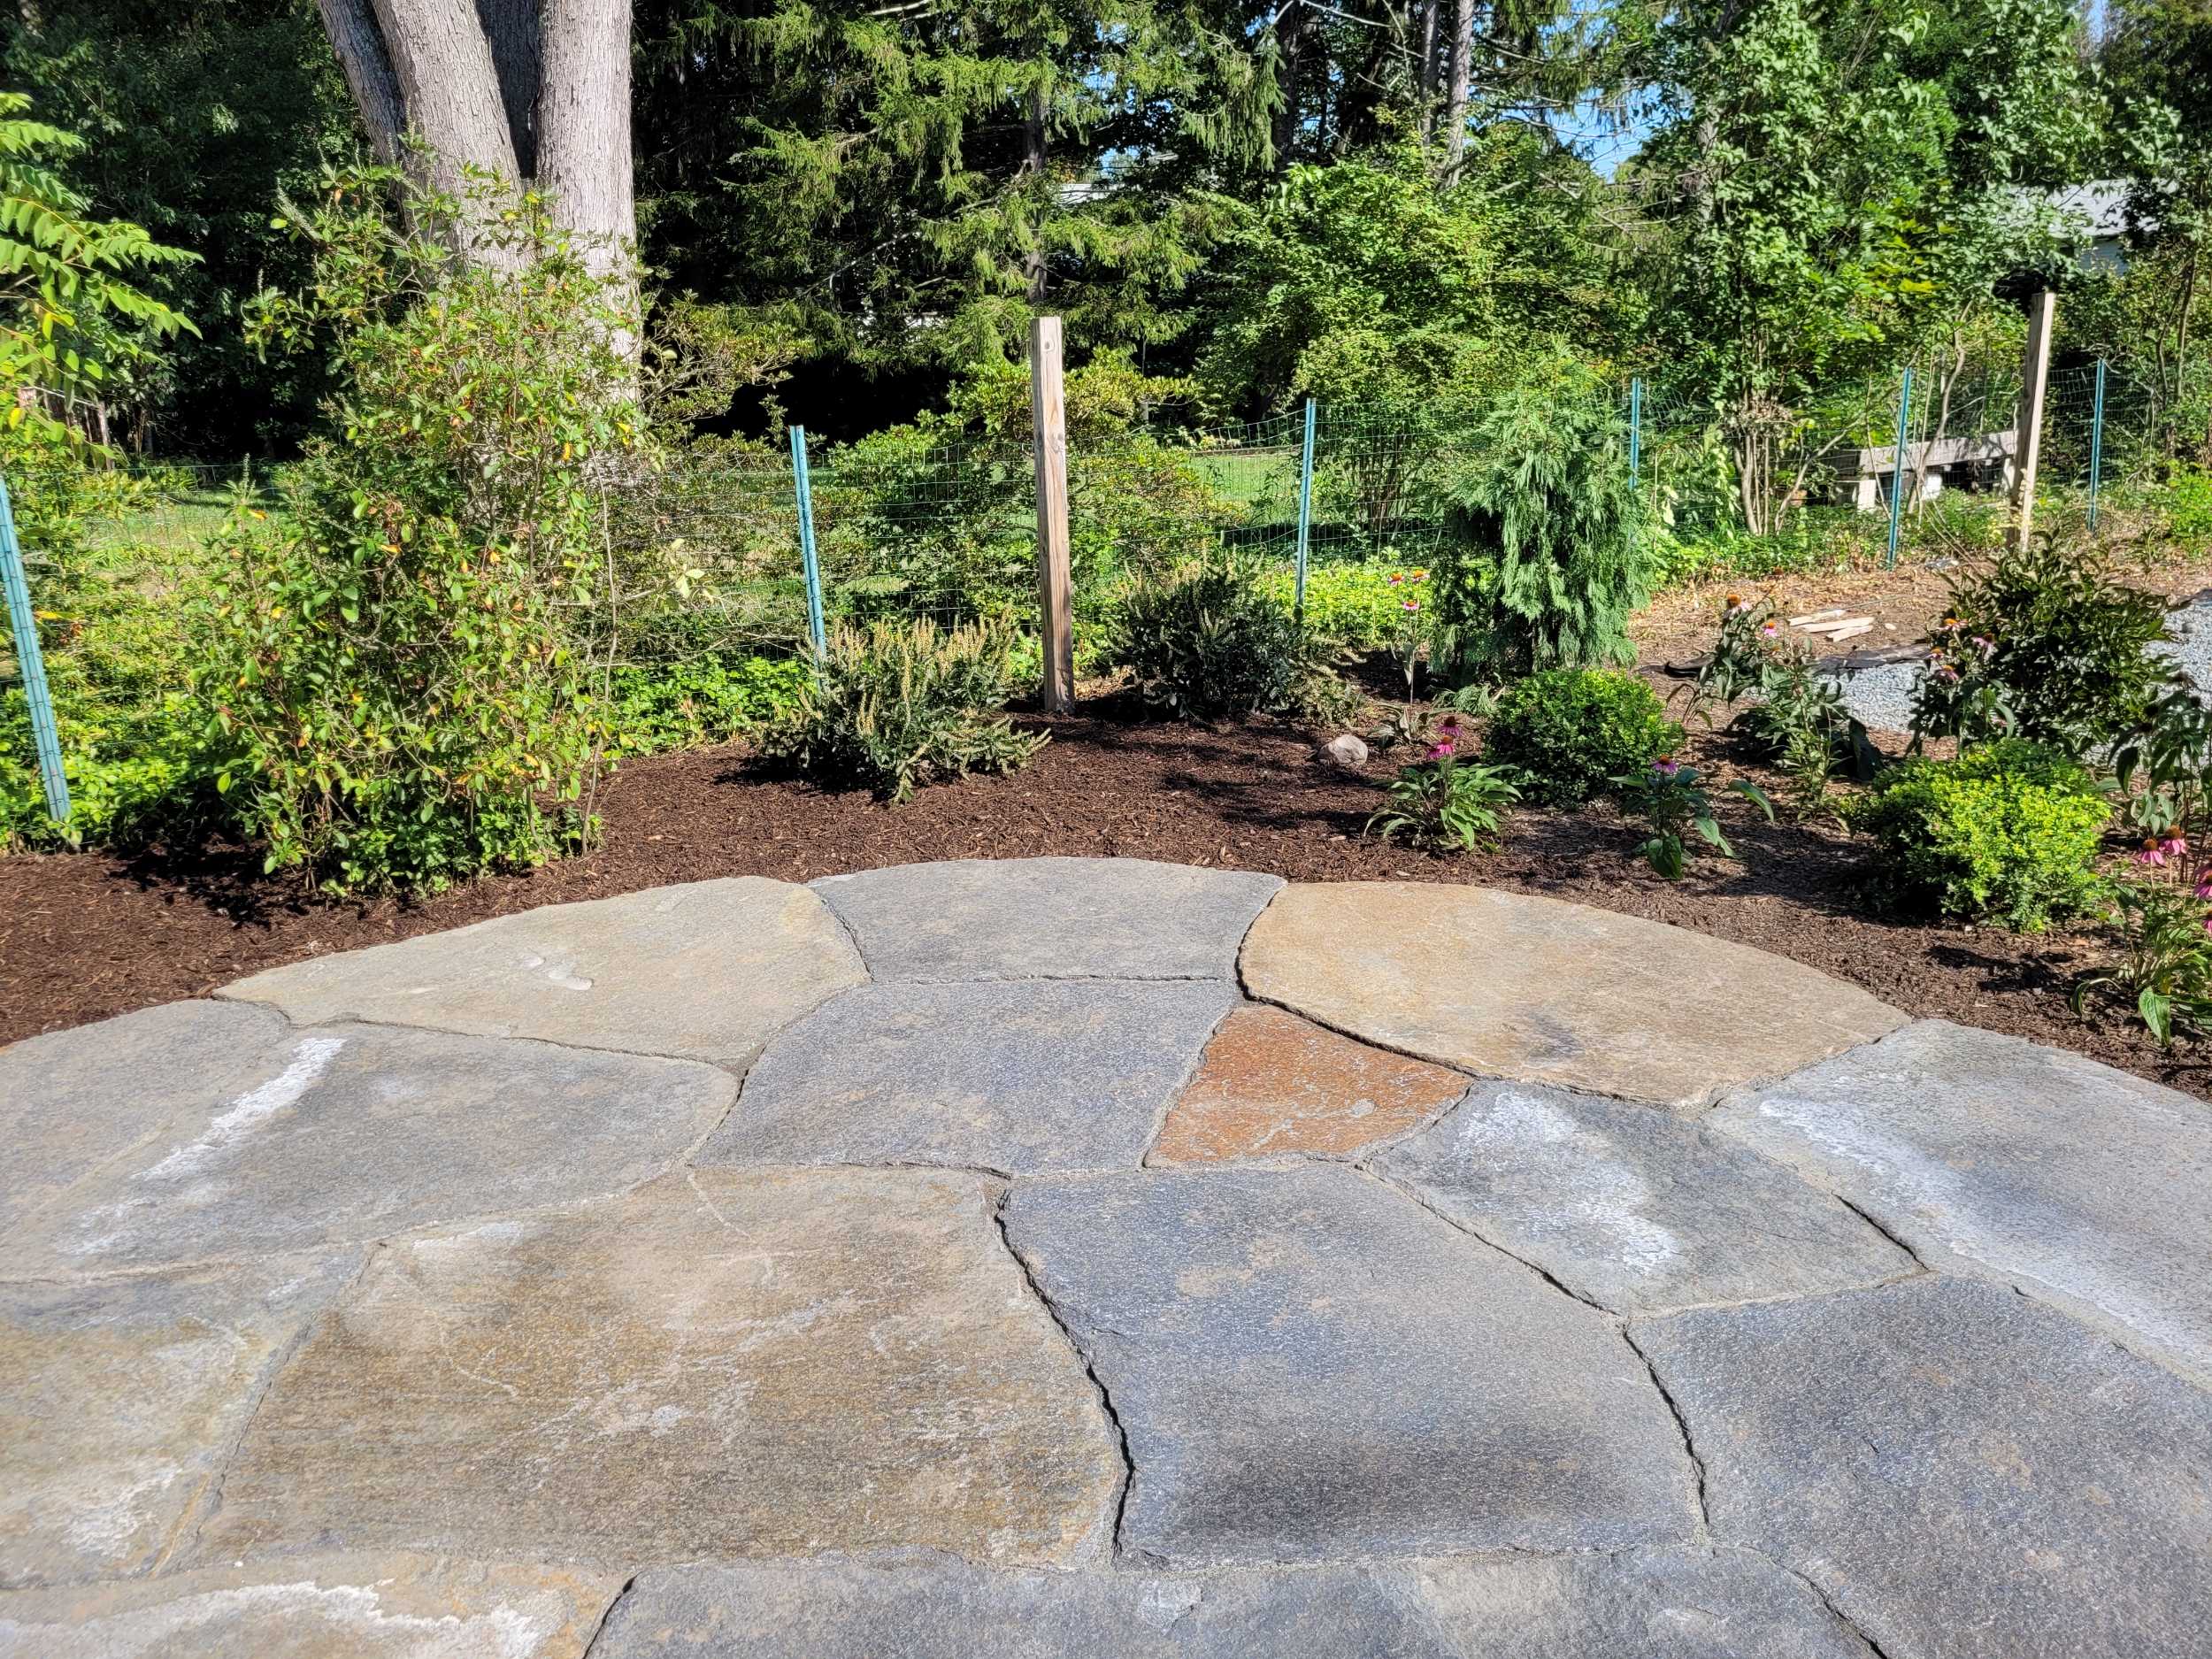
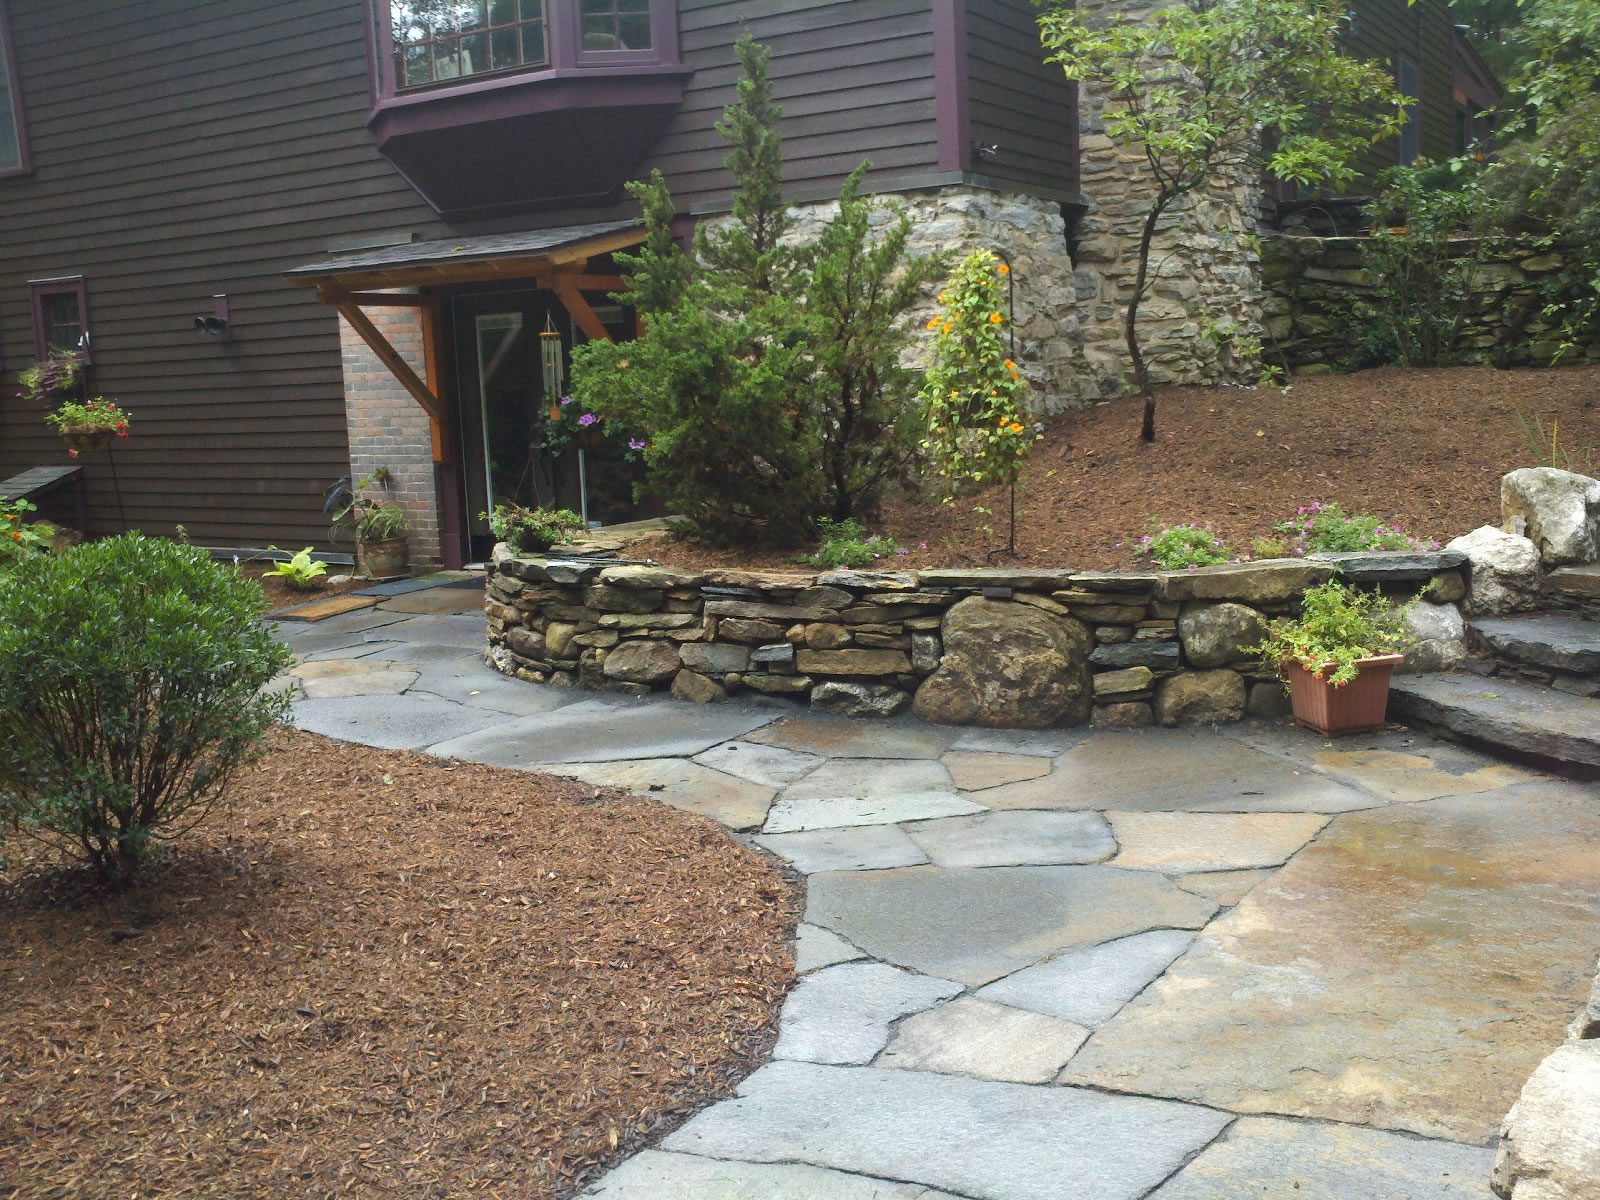
Caring for Your Goshen Stone Patio or Walkway
Natural Beauty with a Little Extra Attention
Goshen stone is a stunning and durable natural material that brings a rustic, timeless feel to your outdoor spaces. Like all natural stone, it benefits from regular care to maintain its beauty and integrity over time.
General Cleaning & Maintenance
-
Sweep regularly to remove leaves, dirt, and debris that can stain or promote moss growth.
-
Wash occasionally with a garden hose and mild detergent, using a stiff brush for surface buildup.
-
Power washers can be used cautiously, but stick to low pressure and wide spray settings to avoid loosening joint material or damaging the stone’s surface.
For stains, follow general paver stain removal tips:
-
Organic stains: use diluted vinegar or a paver-safe cleaner
-
Grease/oil: use a masonry degreaser
-
Rust: avoid harsh acids—opt for paver-safe rust removers tested on a small area
Joint Sand Maintenance
Because Goshen stone often has irregular shapes and wider joints, joint sand or polymeric sand tends to break down or wash out more frequently than with manufactured pavers.
-
Expect to touch up joints more often, possibly annually or every 2–3 years, depending on weather and foot traffic.
-
Reapply polymeric joint sand to help resist erosion and suppress weed growth.
-
Make sure to re-wet the joints properly after reapplication to activate the bonding process.
❄️ Winter Considerations & Ice Melt Use
-
Goshen stone is generally more forgiving with ice melt products than concrete pavers, but care is still required.
-
Use calcium-based or potassium chloride blends and avoid products with added dyes or corrosive chemicals.
-
Goshen stone naturally contains iron, so overuse of ice melt can enhance rust staining and potentially degrade the stone over time.
-
Rinse off any remaining salt in early spring to preserve the stone’s appearance and longevity.
🔧 Tip: Avoid metal shovels or sharp snow removal tools that could chip or scratch the stone. Stick to plastic shovels or snow blowers set to a safe height.
Sealing Your Pavers
Extra Protection for Long-Term Beauty and Performance
While some modern pavers—like Techo-Bloc’s HD2 or Unilock’s EasyClean™—come with integrated surface protection that resists staining and fading, many standard pavers do not. If your pavers aren’t pre-sealed, applying a quality sealer is a smart way to protect your investment and reduce long-term maintenance.
💡 Why Seal Your Pavers?
-
Helps prevent stains from food, grease, leaves, rust, and oil
-
Reduces color fading from UV exposure
-
Minimizes weed and moss growth by stabilizing joint sand
-
Makes cleaning and seasonal care much easier
When and How to Seal
-
Wait at least 60–90 days after installation to allow for full curing and natural weathering
-
Clean the pavers thoroughly and allow them to dry completely before applying any product
-
Choose a water-based or solvent-based paver sealer depending on the desired finish (matte, natural, or enhanced/wet look)
-
Apply using a low-pressure sprayer or roller, following manufacturer instructions carefully
-
Most sealers should be reapplied every 3–5 years depending on foot traffic, exposure, and wear
⚠️ Important Notes
-
Do not seal pavers that already have built-in protective coatings (like HD2 or EasyClean)—additional sealers may not adhere properly and can cause surface issues
-
Always test a small area first to ensure compatibility and desired finish
-
If reapplying, clean thoroughly and remove old sealer layers as needed to avoid clouding or uneven appearance